tep-by-Step Cheesy Dynamite Chicken Buns Recipe
If you’re searching for your new go-to snack or a crowd-pleasing party treat, look no further than these tep-by-Step Cheesy Dynamite Chicken Buns! Each soft, golden bun is packed with a spicy, cheesy chicken filling, delivering everything you love about comfort food in one handheld bite. From the fluffy homemade bread to the oozy mozzarella and cream cheese center, this recipe transforms simple ingredients into a spectacular result you’ll want to make again and again.
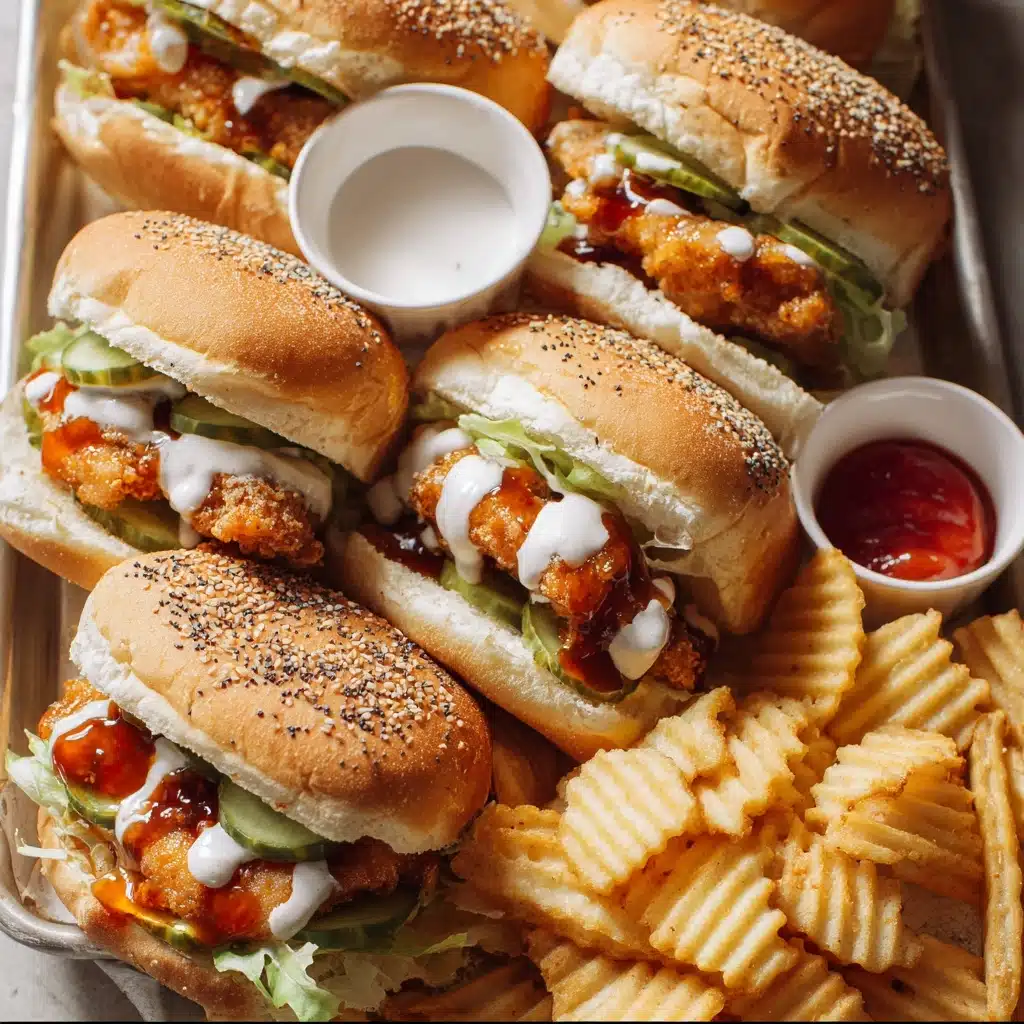
Ingredients You’ll Need
What I love about tep-by-Step Cheesy Dynamite Chicken Buns is how the ingredients are all kitchen staples, but the end result is anything but ordinary. Every single ingredient plays a role: tender chicken for heartiness, velvety cheeses for melt, a touch of spice for excitement, and homemade dough that bakes up like a dream.
- Cooked shredded chicken: This is the star of the filling, offering protein-packed flavor and a satisfying bite.
- Olive oil: Just a splash to sauté your aromatics and bring out their sweetness.
- Small onion, finely chopped: Delivers a hint of sweetness and depth to the filling.
- Garlic, minced: A touch of garlic adds beautiful aroma and savory notes.
- Tomato paste: Provides backbone and a tangy richness to the spicy chicken mix.
- Hot sauce (adjust to taste): This is where the dynamite comes in! Use your favorite and dial up or down depending on your crowd.
- Smoked paprika: Adds a deep, smoky flavor that elevates everything.
- Ground cumin: Earthy and warm, cumin gives the filling a bit of magic.
- Salt and pepper: Season the filling just right to bring all the flavors together.
- Cream cheese: For an irresistibly creamy and tangy surprise inside each bun.
- Shredded mozzarella: The gooey, melty factor that makes these so hard to resist.
- All-purpose flour: The base for our pillowy, homemade bun dough.
- Sugar: Balances the dough and helps the yeast work its magic.
- Instant yeast: Ensures a reliable, easy rise for soft and fluffy buns.
- Salt: Enhances the flavor of the dough for that perfect bakery taste.
- Warm milk: Adds richness and helps build a soft dough structure.
- Warm water: Gets the dough mixing and keeps it hydrated.
- Softened butter: Enriches the bread, making it extra tender and flavorful.
- Egg (for egg wash): Brushed on before baking for a shiny, bakery-style finish.
How to Make tep-by-Step Cheesy Dynamite Chicken Buns
Step 1: Make the Dough
Start by combining the all-purpose flour, sugar, salt, and instant yeast in a large bowl. Gradually add the warm milk, warm water, and softened butter. Toss everything together until a shaggy dough forms, then turn it out onto a floured surface and knead for 8 to 10 minutes until smooth and elastic. Patience is key here; kneading wakes up the gluten and guarantees tender, fluffy buns. Pop the dough into a greased bowl, cover, and let it rise somewhere cozy for about an hour or until doubled in size. Watching the dough puff up is so satisfying!
Step 2: Prepare the Filling
While the dough is rising, get started on the filling for your tep-by-Step Cheesy Dynamite Chicken Buns. Heat olive oil in a skillet over medium, toss in the onion, and sauté until soft and golden brown. Add the garlic and tomato paste for a minute or two until fragrant. Stir in the cooked chicken, hot sauce (go bold or mild!), smoked paprika, cumin, and a good pinch of salt and pepper. Once everything is well-coated, take the pan off the heat and immediately stir in the cream cheese and shredded mozzarella. The cheeses will melt into the chicken, making every bite rich, creamy, and full of flavor.
Step 3: Assemble the Buns
Punch down your risen dough and divide it into equal portions—about 8 to 10, depending on how big you want your buns. Flatten each piece into a disk, scoop a generous spoonful of the cheesy chicken filling into the center, and pinch the edges closed securely. Place the filled buns seam-side down on a parchment-lined tray, leaving enough room between them to rise a little more. This step is when the magic really starts to happen; every bun holds its own molten treasure inside.
Step 4: Bake to Perfection
Preheat your oven to 375°F (190°C). Give each bun a gentle brush with an egg wash to ensure a beautiful golden sheen. Bake the buns for 18 to 20 minutes, or until they’re puffed up and irresistible with a shiny, golden crust. The kitchen will smell absolutely amazing! Once done, let them cool slightly before serving so you don’t lose any of that molten cheese filling.
How to Serve tep-by-Step Cheesy Dynamite Chicken Buns
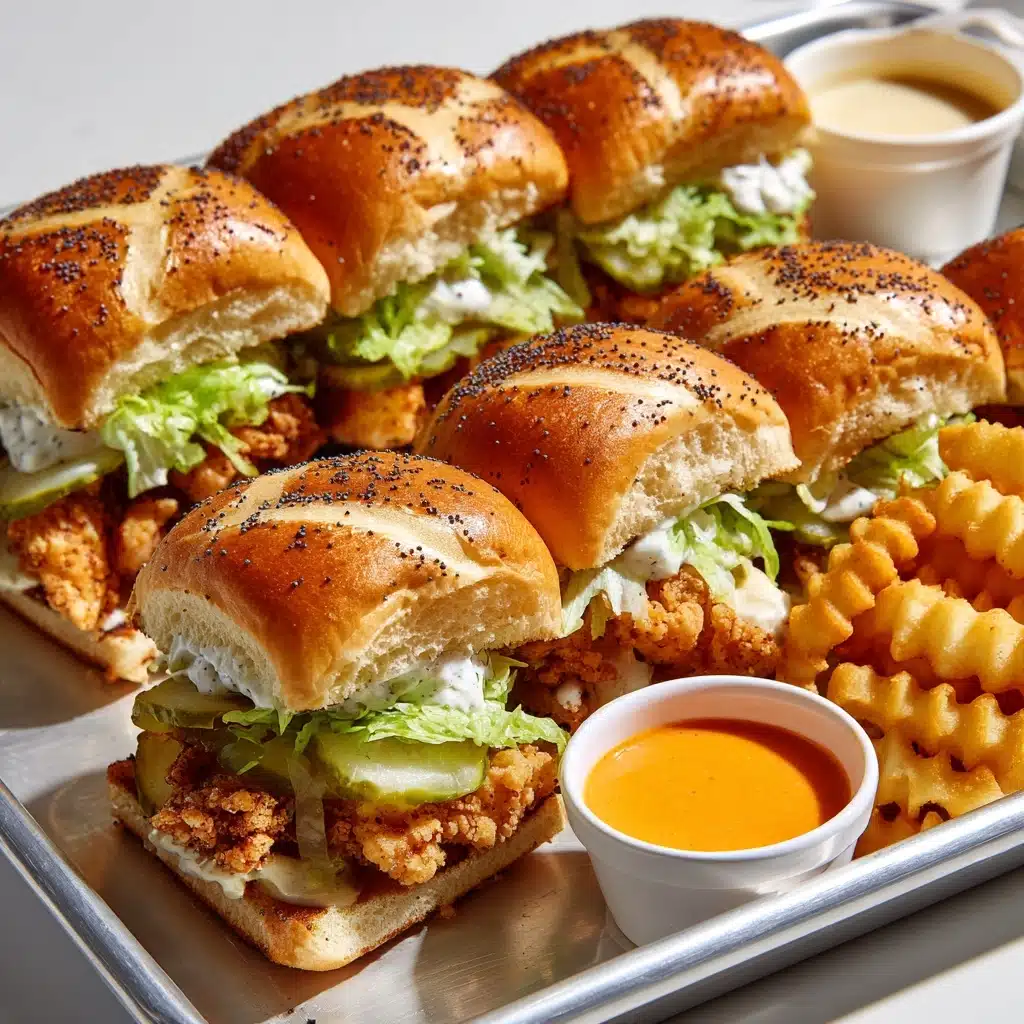
Garnishes
Sprinkle a little chopped fresh parsley or cilantro over the top for a pop of color and herby freshness. A dusting of smoked paprika or a swirl of extra hot sauce can add flair and amplify the bold flavors of your tep-by-Step Cheesy Dynamite Chicken Buns.
Side Dishes
Pair these buns with a crisp green salad, tangy coleslaw, or even crunchy pickles to balance out the cheesy richness. A creamy dipping sauce—think garlic yogurt or a cool ranch—makes a fun addition for dunking and brings even more flavor to your spread.
Creative Ways to Present
Serving them in a basket lined with gingham or parchment paper gives off a cozy, bakery vibe. For parties, arrange on a platter with mini flags or skewers. You can also slice them in half and stack on a board for an interactive, self-serve centerpiece—sure to wow your guests with the molten, cheesy interior.
Make Ahead and Storage
Storing Leftovers
Any leftover tep-by-Step Cheesy Dynamite Chicken Buns will keep well in an airtight container in the fridge for up to three days. Let them cool before storing to avoid excess condensation, and reheat for the best cheesy, gooey texture the next day.
Freezing
These buns are freezer friendly! Once cooled, wrap each bun individually in plastic wrap and place in a freezer bag. They’ll stay fresh for up to two months. Perfect for grabbing a quick snack or prepping for busy weeks ahead.
Reheating
To reheat, just pop the buns into a preheated oven at 325°F (163°C) for 8 to 10 minutes, or microwave for 30–45 seconds if you’re in a hurry. This brings back the soft bread and makes the filling deliciously melty again.
FAQs
Can I use rotisserie chicken instead of cooking my own?
Absolutely! Rotisserie chicken saves time and adds even more flavor. Just shred it well and use as directed for the tep-by-Step Cheesy Dynamite Chicken Buns filling.
How spicy are the buns, and can I adjust the heat?
The spiciness is all up to you. Add more or less hot sauce to the filling to match your taste, or use a mild sauce if serving kids or those who prefer less heat.
Can I freeze the assembled buns before baking?
Yes, you can assemble the buns and freeze them before baking. Let them thaw and rise slightly, then egg wash and bake as usual for fresh-from-the-oven goodness anytime.
What other cheeses can I use for the filling?
Feel free to swap in other melt-friendly cheeses like cheddar, gouda, or provolone for different flavor twists. Just keep the ratios the same for the perfect cheesy explosion.
Can I make these tep-by-Step Cheesy Dynamite Chicken Buns in advance for parties?
Definitely! Bake in advance and reheat gently in the oven before serving, or keep the dough and filling ready, assembling and baking just before the party for that unbeatable bakery-fresh quality.
Final Thoughts
Trust me, once you try making tep-by-Step Cheesy Dynamite Chicken Buns at home, they’ll earn a beloved spot in your regular rotation! Whether you’re snacking, entertaining, or just craving something extra special, these buns are the ultimate in cozy, cheesy comfort—don’t wait to give them a go!
Printtep-by-Step Cheesy Dynamite Chicken Buns Recipe
These Cheesy Dynamite Chicken Buns are a delicious and satisfying treat that everyone will enjoy. Tender shredded chicken, creamy cheeses, and flavorful spices are wrapped in a soft, fluffy bun for a perfect snack or meal.
- Prep Time: 30 minutes
- Cook Time: 20 minutes
- Total Time: 1 hour 50 minutes
- Yield: 12 buns 1x
- Category: Appetizer, Snack
- Method: Baking
- Cuisine: American
- Diet: Non-Vegetarian
Ingredients
Dough:
- 3 cups all-purpose flour
- 1 tbsp sugar
- 2¼ tsp instant yeast
- 1 tsp salt
- ¾ cup warm milk
- ¼ cup warm water
- 3 tbsp softened butter
- 1 egg (for egg wash)
Filling:
- 2 cups cooked shredded chicken
- 1 tbsp olive oil
- 1 small onion, finely chopped
- 2 cloves garlic, minced
- 1 tbsp tomato paste
- 2 tbsp hot sauce (adjust to taste)
- ½ tsp smoked paprika
- ½ tsp ground cumin
- Salt and pepper, to taste
- ½ cup cream cheese
- 1 cup shredded mozzarella
Instructions
- Make dough: Mix flour, sugar, salt, yeast. Add warm milk, water, butter. Knead 8-10 mins. Let rise 1 hour.
- Prepare filling: Sauté onion in oil, add garlic, tomato paste, spices. Stir in chicken, hot sauce. Remove from heat, mix in cream cheese and mozzarella.
- Assemble buns: Divide dough, flatten, add filling, seal. Place on tray.
- Bake: Brush with egg wash. Bake at 375°F (190°C) for 18-20 mins until golden.
Notes
- You can customize the level of spiciness by adjusting the amount of hot sauce used.
- These buns are best served warm, straight from the oven.
Nutrition
- Serving Size: 1 bun
- Calories: 280
- Sugar: 2g
- Sodium: 380mg
- Fat: 10g
- Saturated Fat: 5g
- Unsaturated Fat: 4g
- Trans Fat: 0g
- Carbohydrates: 35g
- Fiber: 1g
- Protein: 12g
- Cholesterol: 50mg
Keywords: Cheesy Dynamite Chicken Buns, Chicken Buns Recipe, Stuffed Buns Recipe


