
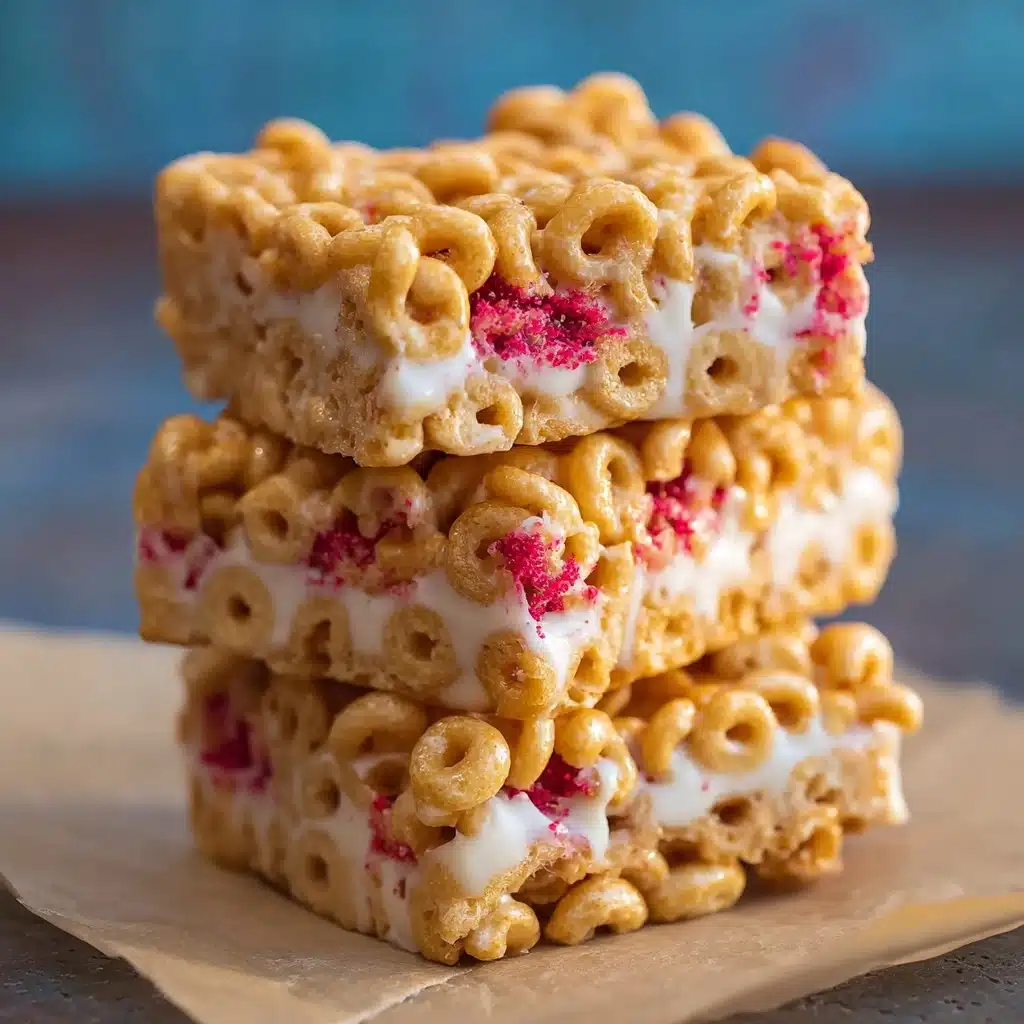
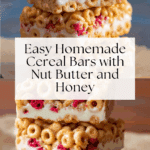
Cereal Bars Recipe
If you’re looking for a snack that’s both delicious and satisfying, these Cereal Bars are an absolute game changer. Packed with crunchy cereal, creamy nut butter, and just the right touch of natural sweetness, these bars are perfect for a quick breakfast, an afternoon pick-me-up, or a post-workout boost. The beauty of Cereal Bars lies in their simplicity and versatility, allowing you to customize flavors while keeping things wholesome and easy to prepare. Once you make these, you’ll wonder how you ever lived without them!
Ingredients You’ll Need
To make these fantastic Cereal Bars, you only need a handful of simple ingredients that work together to create an irresistible combination of texture and flavor. Each element plays a crucial role, from the crunch of your favorite cereal to the smoothness of nut butter and the natural sweetness that ties it all together.
- 3 cups cereal of choice: This is the crunchy base, so pick one you love—whether it’s oats, puffed rice, or something with a bit of sweetness.
- 2/3 cup peanut butter or nut butter of choice: Adds creaminess and a rich, nutty flavor, plus helps bind the bars together.
- 1/2 cup agave, honey, or brown rice syrup: The sweetener that brings everything together with a gentle, natural sweetness.
- Optional 1/2 tsp salt: Just a pinch to balance the flavors and enhance the overall taste.
- Optional 3 tbsp protein powder: A boost if you want to make your bars even more filling and nutritious.
How to Make Cereal Bars
Step 1: Prep Your Pan and Ingredients
Start by lining an 8-inch pan with wax or parchment paper, which will make removing your bars super easy later. If your nut butter is a little stiff, gently warm it so it’s easier to stir—this ensures a smooth and even mixture.
Step 2: Mix Everything Together
In a large bowl, combine your chosen cereal, nut butter, and sweetener. If you’re using salt or protein powder, add those in as well. Stir everything thoroughly so each bit of cereal is well-coated and ready to stick together.
Step 3: Press and Chill
Pour the mixture into your prepared pan, then cover it with a second sheet of parchment paper. Press down *very* firmly—this step is key to making sure your Cereal Bars hold their shape and don’t crumb apart after slicing. Once pressed, pop the pan into the freezer for about 30 minutes or until firm enough to cut.
Step 4: Slice and Store
When the mixture hardens to the perfect consistency, remove it from the pan and slice it into bars. If you’re not eating them right away, you can cover the leftovers and store them in the refrigerator, freezer, or a cool, dry place.
How to Serve Cereal Bars

Garnishes
Feel free to get a little creative with toppings like a drizzle of melted chocolate, a sprinkle of crushed nuts, or even a dusting of cinnamon. These finishing touches can add an extra layer of flavor and make your Cereal Bars look as good as they taste.
Side Dishes
These bars pair beautifully with fresh fruit, yogurt, or a glass of cold milk for a balanced snack or breakfast that’s both satisfying and nutritious.
Creative Ways to Present
Wrap individual bars in parchment paper tied with a colorful string for a charming handmade gift. Or serve them alongside a smoothie bowl or even crumble them over yogurt for a delightful crunch boost.
Make Ahead and Storage
Storing Leftovers
Your Cereal Bars can be kept fresh for up to a week in an airtight container in the refrigerator. Make sure they’re well-covered to keep their texture just right.
Freezing
If you want to prepare a big batch ahead of time, freezing is your best friend. Wrap each bar individually and store them in a sealed container or freezer bag. When you’re ready, simply thaw at room temperature or pop them in the fridge overnight.
Reheating
Usually, these bars are best enjoyed chilled or at room temperature, but if you prefer them a bit softer, a quick 15-second zap in the microwave works wonders to warm up nut butter and enhance the gooey goodness.
FAQs
Can I use any type of cereal for these Cereal Bars?
Absolutely! Feel free to use whatever cereal you love—whether that’s granola, cornflakes, or even gluten-free options. The key is that it should be dry and crunchy to provide the right texture.
Is it necessary to freeze the bars before cutting?
Yes, chilling the bars in the freezer helps them firm up so they don’t fall apart when sliced. Pressing firmly and freezing ensures clean cuts and bars that hold together well.
Can I substitute peanut butter with other nut or seed butters?
Definitely! Almond butter, cashew butter, or even sunflower seed butter work beautifully. Just pick your favorite nut or seed butter to customize the flavor.
How do I make these Cereal Bars vegan?
Simply use a plant-based sweetener like agave or brown rice syrup and choose a vegan-friendly nut butter. Avoid honey if strict vegan, and you’re good to go!
Can I add mix-ins like dried fruit or chocolate chips?
Yes! Adding dried cranberries, raisins, or mini chocolate chips can enhance the bars’ flavor and texture. Just fold them in during the mixing step before pressing into the pan.
Final Thoughts
Once you try making these Cereal Bars, you’re going to fall in love with how easy they are and how perfectly they satisfy those snack cravings. They’re not just tasty, they’re a nourishing treat that you can customize endlessly. Grab your ingredients, get mixing, and enjoy the homemade goodness that these bars bring to your day!
PrintCereal Bars Recipe

These homemade cereal bars are a quick, nutritious snack made with your choice of cereal, nut butter, and a natural sweetener. Perfect for on-the-go energy or a tasty treat, they are customizable with optional salt and protein powder for extra flavor and nutrition.
- Prep Time: 10 minutes
- Cook Time: 0 minutes
- Total Time: 40 minutes
- Yield: 12 bars 1x
- Category: Snack
- Method: No-Bake
- Cuisine: American
- Diet: Vegetarian
Ingredients
Main Ingredients
- 3 cups cereal of choice
- 2/3 cup peanut butter or nut butter of choice
- 1/2 cup agave, honey, or brown rice syrup
Optional Ingredients
- 1/2 tsp salt
- 3 tbsp protein powder
Instructions
- Prepare Pan: Line an 8-inch pan with wax or parchment paper. For a larger batch, double the recipe and use a 9×13-inch pan.
- Warm Nut Butter: Gently warm the nut butter if necessary until it becomes easily stirrable, ensuring it mixes well with other ingredients.
- Combine Ingredients: In a large bowl, stir together the cereal, nut butter, sweetener (agave, honey, or brown rice syrup), and any optional ingredients like salt or protein powder until evenly combined.
- Press Mixture: Pour the cereal mixture into the prepared pan. Place a second sheet of parchment paper on top and press the mixture down firmly to compact it, which helps the bars hold their shape.
- Chill Bars: Freeze the pan for about 30 minutes or until the mixture is firm enough to slice into bars.
- Store: After cutting, store leftover bars covered in the refrigerator, freezer, or in a cool, dry place to maintain freshness.
Notes
- Use your favorite cereal flavor for a personalized taste.
- Pressing the mixture firmly is crucial to prevent bars from crumbling.
- Adjust sweetness by varying the amount or type of sweetener used.
- The bars can be stored at room temperature if kept in a cool, dry place, but refrigeration extends shelf life.
- Add-ins like nuts, dried fruit, or seeds can be mixed in for extra texture and nutrition.
- If using protein powder, ensure it blends well with the wet ingredients to avoid lumps.
Nutrition
- Serving Size: 1 bar (approx. 50g)
- Calories: 180
- Sugar: 8g
- Sodium: 80mg
- Fat: 9g
- Saturated Fat: 2g
- Unsaturated Fat: 6g
- Trans Fat: 0g
- Carbohydrates: 22g
- Fiber: 2g
- Protein: 5g
- Cholesterol: 0mg
Keywords: cereal bars, no-bake snack, healthy snack, peanut butter bars, homemade bars, energy bars, easy snack
