
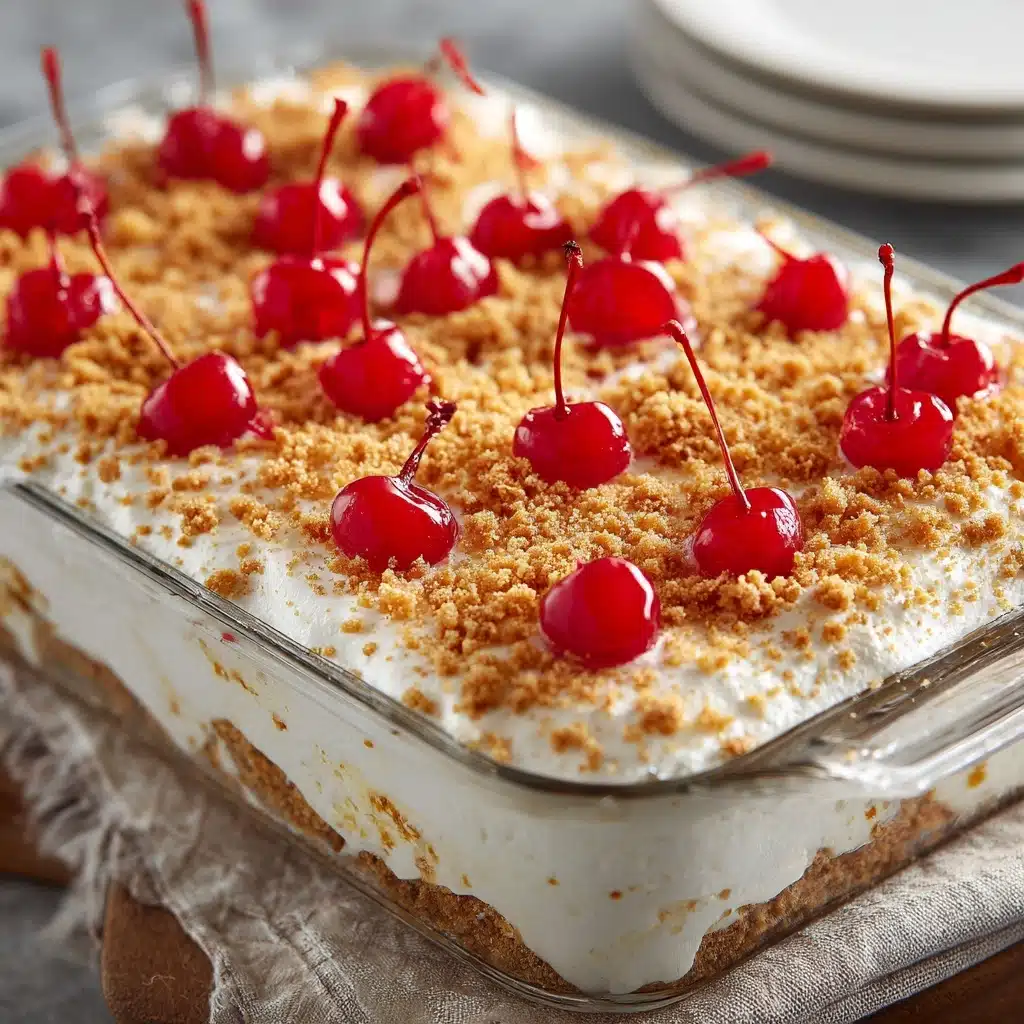
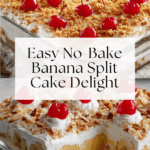
Banana Split Cake – No Bake Recipe
If you’re searching for a show-stopping, easy dessert that brings all the fun of the classic ice cream treat straight to your table without even turning on the oven, look no further than this Banana Split Cake – No Bake. This delectable recipe layers a buttery graham cracker crust, luscious cream cheese filling, fresh bananas and pineapple, and a cloud of whipped topping, all finished with crunchy peanuts and vibrant maraschino cherries. It’s a guaranteed crowd-pleaser for parties, summer gatherings, or anytime you crave banana split joy with barely any effort!
Ingredients You’ll Need
All you need are a handful of familiar ingredients, each playing a special role to perfectly mimic those nostalgic banana split flavors and textures. Don’t be tempted to skip or swap—each element brings something important for taste, creaminess, crunch, or color!
- Graham cracker crumbs: These create a sturdy, buttery base that holds everything together and offers a hint of toasty sweetness.
- White sugar: A touch of granulated sugar adds sweetness and helps the crust set up nicely.
- Unsalted butter: Melted and mixed into the crumbs for richness and to help the crust stay firm and sliceable.
- Cream cheese: Softened cream cheese forms a tangy, creamy layer that mimics the richness of ice cream.
- Powdered sugar: This blends smoothly into the cream cheese for a luscious, melt-in-your-mouth filling.
- Bananas: Sliced fresh for that essential banana flavor and classic split texture. Use ripe bananas for best results.
- Crushed pineapple: Drained well to avoid excess moisture, pineapple adds a tropical zing and authentic split character.
- Frozen whipped topping: Thawed and spread for a dreamy, whipped cream layer that’s effortless and light.
- Peanuts: Coarsely chopped for an irresistible, salty crunch to contrast the sweet, creamy layers.
- Maraschino cherries: The ultimate finishing touch—bright, sweet, and absolutely classic for that visual pop and flavor.
How to Make Banana Split Cake – No Bake
Step 1: Prepare the Graham Cracker Crust
Bust out your food processor for this first step—pulse your graham cracker sheets until you have fine, sandy crumbs. If you prefer an extra hands-on approach, tuck the crackers in a zip-top bag and bash them with a rolling pin. Combine the crumbs, white sugar, and melted butter in a big bowl, mixing until the texture resembles damp sand and holds together when squeezed. Press this mixture firmly into the bottom of a 9×13 inch baking dish, making sure it’s level and packed tight. Pop it in the refrigerator to chill and set while you prep the next layer.
Step 2: Make the Cream Cheese Layer
In a separate medium bowl, beat the softened cream cheese with the powdered sugar. A hand mixer works beautifully here to blend everything into a smooth, fluffy, sweet-tart filling. Once there are no lumps and the mixture is creamy, spread it gently but evenly over your chilled graham cracker crust. This decadent layer provides the creamy, cheesecake-like richness that makes each bite of Banana Split Cake – No Bake irresistible.
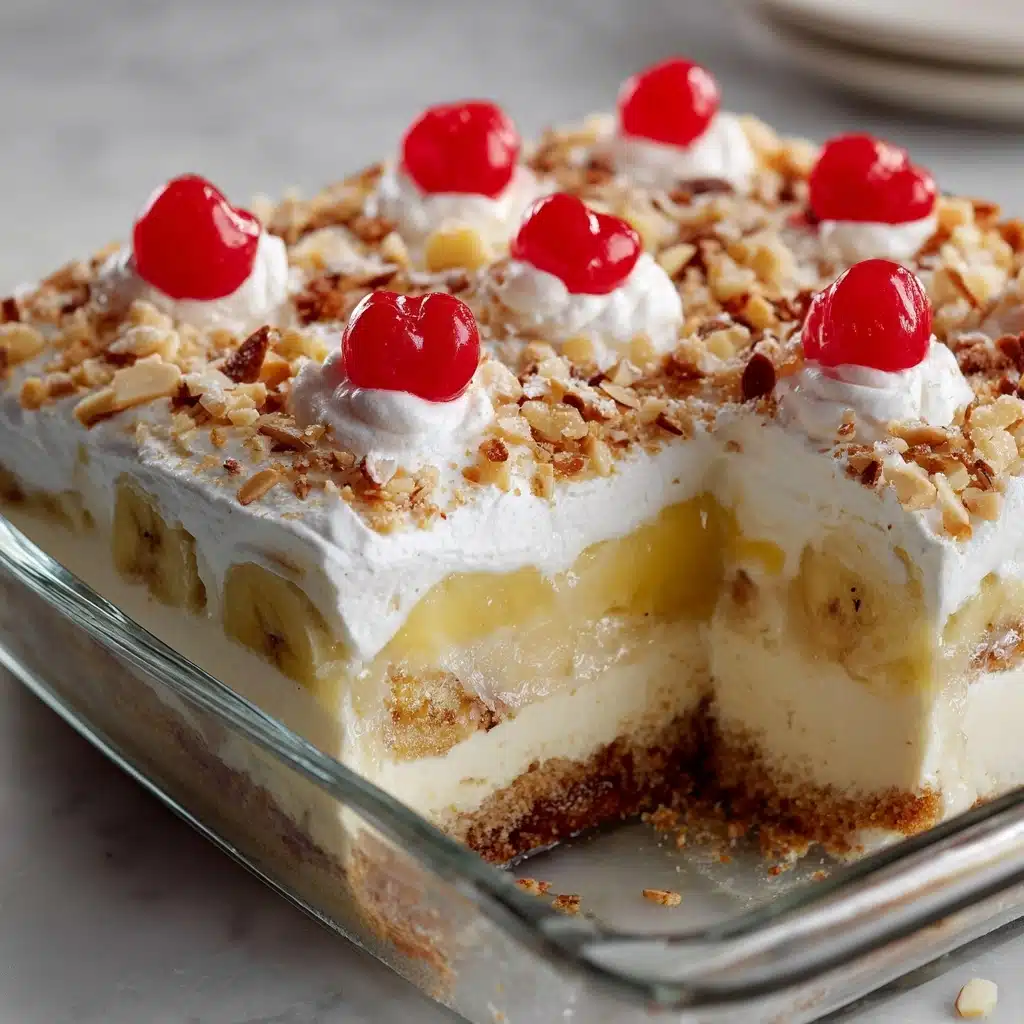
Step 3: Layer the Fresh Fruit
Next comes the fruit: Slice your bananas and arrange them in a single, even layer over the cream cheese base. Scatter the well-drained crushed pineapple on top for that juicy, tropical punch. The flavor combination is pure banana split magic—every slice will have the perfect ratio of sweet fruit to creamy filling.
Step 4: Add the Whipped Topping
Spoon the thawed whipped topping across the fruit, using an offset spatula or the back of a spoon to smooth it into a fluffy, cloud-like layer. Cover all the fruit completely—this seals in the moisture, keeps the bananas from browning, and mimics that essential whipped cream topping from the classic dessert.
Step 5: Finish with Peanuts and Cherries
Now for the fun part! Sprinkle the chopped peanuts evenly across the top to add a tiny bit of crunch and salt. Then, crown your no-bake cake with a generous scattering of maraschino cherries—nestle them into the whipped topping and let their syrupy color shine. This step makes your Banana Split Cake – No Bake look as festive as it tastes.
Step 6: Chill and Serve
For best flavor and texture, refrigerate your Banana Split Cake – No Bake at least a few hours, or until well-chilled throughout (overnight is perfect if you have the time and patience!). This firms up all the layers and allows those incredible flavors to meld together. Slice, serve, and enjoy the oohs and aahs.
How to Serve Banana Split Cake – No Bake
Garnishes
Take your presentation up a notch by adding a drizzle of chocolate syrup or a dusting of extra crushed nuts right before serving. For the ultimate ice cream parlor nostalgia, add a dollop of extra whipped topping and perhaps a few sprinkles on each slice. Every little detail makes the experience even more delightful!
Side Dishes
This cake is a statement dessert all on its own, but if you want to pair it up, serve it alongside fresh berries or a scoop of vanilla ice cream for an extra indulgent treat. A glass of cold milk, iced coffee, or even a tangy lemon iced tea are all great companions.
Creative Ways to Present
If you’re hosting a party, try cutting your Banana Split Cake – No Bake into bite-sized squares for a dessert buffet, or scoop it into pretty mason jars for portable parfaits. Feeling playful? Decorate each slice with individual toppings—mini chocolate chips, shredded coconut, or rainbow sprinkles—so everyone can enjoy their own custom creation.
Make Ahead and Storage
Storing Leftovers
Store any leftover Banana Split Cake – No Bake tightly covered in the refrigerator for up to three days. The whipped topping and fruit layers stay fresh, and the flavors continue to meld beautifully. For best texture, enjoy leftovers within this window to prevent the bananas from browning too much.
Freezing
While you technically can freeze this dessert, it’s not recommended due to the fresh bananas, which may become mushy and discolored upon thawing. If you do freeze leftovers, wrap them tightly, and know that the texture will be much softer and slightly altered once defrosted.
Reheating
No heating necessary! This Banana Split Cake – No Bake is meant to be served cold, straight from the fridge. If you’ve frozen a slice, allow it to thaw in the refrigerator until completely chilled and creamy again before serving.
FAQs
Can I use homemade whipped cream instead of frozen whipped topping?
Absolutely! Homemade whipped cream can be used for a richer, more natural flavor. Whip heavy cream with a touch of powdered sugar until stiff peaks form, then spread it in place of the store-bought topping.
What can I substitute for peanuts to make it nut-free?
Try toasted coconut flakes, mini chocolate chips, or simply omit the nuts entirely. These alternatives still add great texture and flavor without the risk of nuts.
Will the bananas turn brown?
The whipped topping layer acts as a barrier to help slow down browning, especially if the cake is tightly covered. For the freshest look, assemble and serve the same day, or add the banana layer just before serving if prepping ahead.
Can I make Banana Split Cake – No Bake a day in advance?
Yes! In fact, making it ahead allows the flavors and layers to come together even more harmoniously. Just store it tightly in the fridge and garnish right before serving for the prettiest presentation.
Is this recipe gluten-free?
As written, the graham cracker crust contains gluten. For a gluten-free version, simply substitute with gluten-free graham crackers or another gluten-free cookie crumb that you enjoy.
Final Thoughts
There’s something purely joyful about sharing a slice of Banana Split Cake – No Bake, especially when you know how easy it was to whip up. This recipe brings summer fun to any table, and it’s guaranteed to leave your friends and family asking for seconds. If you love that classic banana split flavor, you absolutely have to try this quick, no-bake delight—let me know how you make it your own!
PrintBanana Split Cake – No Bake Recipe
Indulge in this scrumptious no-bake Banana Split Cake that brings together all the classic flavors of a banana split in a delightful dessert. Layers of graham cracker crust, creamy cheesecake filling, fresh bananas, pineapple, whipped topping, and a sprinkle of nuts and cherries make this a crowd-pleaser.
- Prep Time: 20 minutes
- Total Time: 2 hours
- Yield: 12 servings 1x
- Category: Dessert
- Method: No-Bake
- Cuisine: American
- Diet: Vegetarian
Ingredients
Graham Cracker Crust:
- 2 cups graham cracker crumbs (about 1 ½ sleeves)
- ¾ cup white sugar
- 8 Tablespoons unsalted butter (melted)
Cheesecake Filling:
- 16 ounces cream cheese (softened, 2 packages)
- 1 ½ cups powdered sugar
Layers:
- 4 bananas (sliced)
- 20 ounce crushed pineapple, drained (1 20oz can)
- 16 ounce frozen whipped topping (thawed)
- ¼ cup peanuts (coarsely chopped)
- 15 maraschino cherries (drained)
Instructions
- Graham Cracker Crust: In a food processor, pulse the graham crackers until finely chopped.
- Cheesecake Filling: In a large bowl, stir together the graham cracker crumbs, white sugar, and melted butter until combined. Press into the bottom of a 9×13 inch baking dish in a flat layer. Refrigerate until set.
- Layers: In a medium bowl, beat together the cream cheese and powdered sugar until well blended. Spread the cream cheese mixture in an even layer over the graham cracker crust. Place the bananas and pineapple over the cream cheese layer. Cover with whipped topping. Top with nuts and cherries.
- Refrigerate until completely chilled. Serve cold.
Nutrition
- Serving Size: 1 slice
- Calories: 380
- Sugar: 30g
- Sodium: 220mg
- Fat: 24g
- Saturated Fat: 15g
- Unsaturated Fat: 8g
- Trans Fat: 0g
- Carbohydrates: 38g
- Fiber: 2g
- Protein: 4g
- Cholesterol: 60mg
Keywords: Banana Split Cake, No-Bake Dessert, Cheesecake, Pineapple, Graham Cracker Crust