
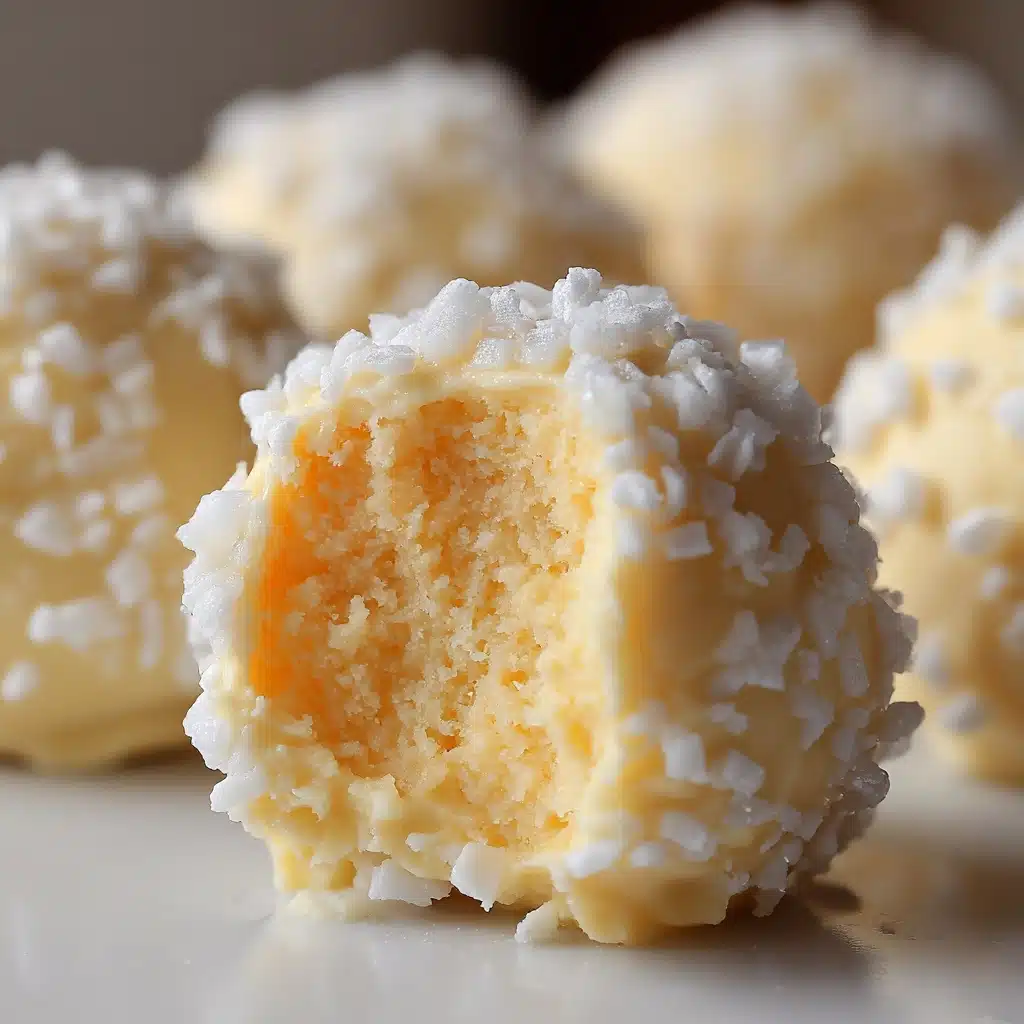
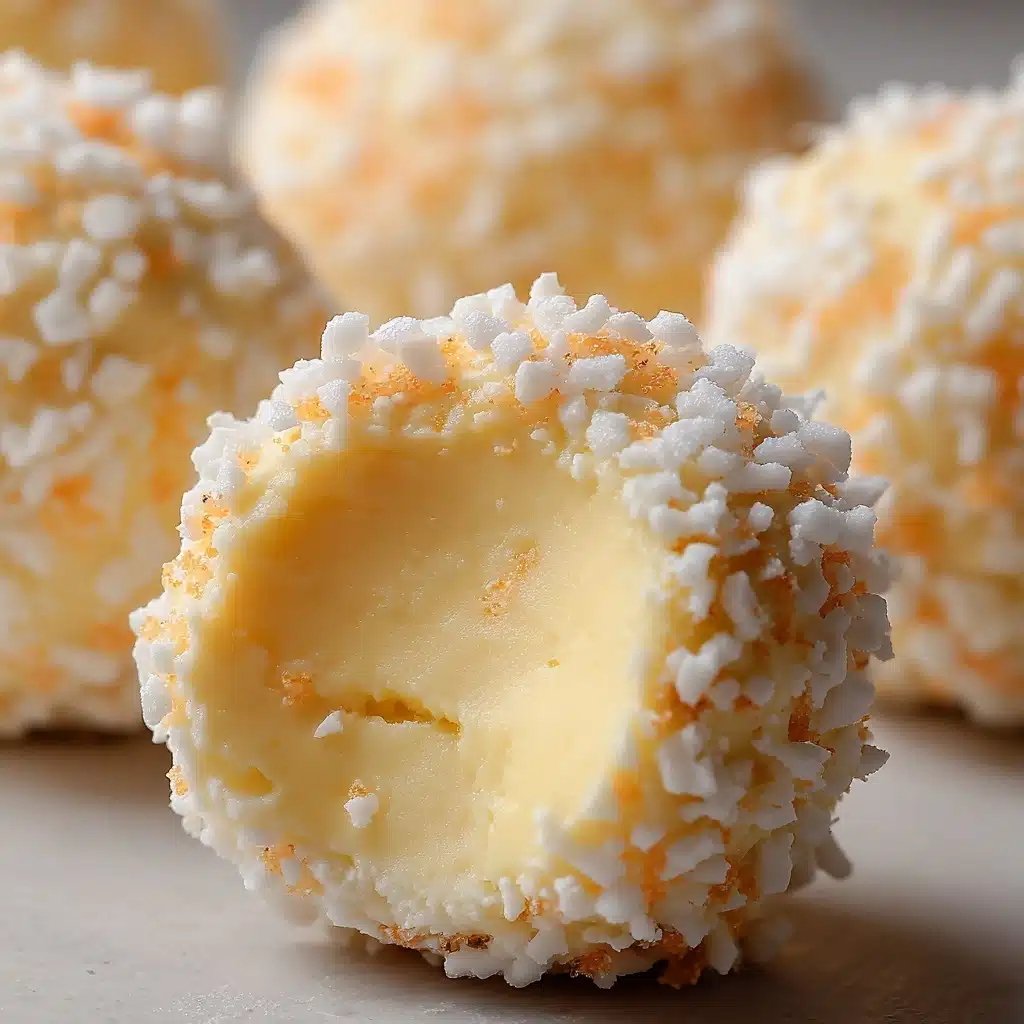
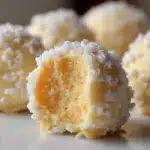
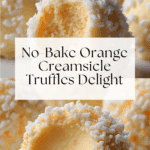
No Bake Orange Creamsicle Truffles Recipe
If you’re on the hunt for a bite-sized treat that delivers nostalgic summertime flavor and irresistible creamy texture, these No Bake Orange Creamsicle Truffles are pure magic. Every chewy, citrusy bite will whisk you straight back to childhood days chasing down the ice cream truck. No oven needed—just a handful of pantry staples, a bowl, and a little patience while everything chills. Whether for a party platter, edible gift, or simply to brighten your own afternoon, these truffles promise the perfect blend of sweet vanilla, zingy orange, and a silky white chocolate shell. Trust me, they’re bound to become your new favorite delight!
Ingredients You’ll Need
One of the best things about No Bake Orange Creamsicle Truffles is how beautifully simple the ingredient list is. Each item brings something wonderful to the table: vibrant flavor, creamy richness, or the ideal truffle texture.
- Powdered Sugar: The key to a smooth, melt-in-your-mouth sweetness that mixes effortlessly into the truffle base.
- Unsalted Butter: Softened butter provides creaminess and helps bind everything together for a rich, decadent textured dough.
- Vanilla Wafers (crushed): Sweet, crisp crumbs add structure while infusing that unmistakable vanilla cake flavor.
- Frozen Orange Juice Concentrate (thawed): Delivers bold orange flavor without watering down your dough—a little goes a long way!
- Orange Zest (optional): For those who love extra citrus sparkle, fresh zest gives an even more intense orange aroma and taste.
- Vanilla Extract: Just a splash to amplify that classic creamsicle vibe we all adore.
- White Chocolate Chips or Candy Melts: Smooths into a dreamy sweet shell that pairs perfectly with the citrus filling.
- Sprinkles: Add festive color and a fun crunch—feel free to match the occasion.
- Extra Orange Zest: For decorating, it highlights the orange flavor and gives a pop of vibrant color.
How to Make No Bake Orange Creamsicle Truffles
Step 1: Prepare the Truffle Mixture
Start by placing the softened butter and powdered sugar in a large mixing bowl. Using a hand mixer or sturdy spatula, beat them together until the mixture is fluffy, light, and completely smooth—this sets the foundation for that dreamy, creamy truffle interior.
Step 2: Add Orange Juice, Zest, and Vanilla
Now stir in the thawed orange juice concentrate, a teaspoon of fresh orange zest if you want extra citrus intensity, and the vanilla extract. Blend everything thoroughly, and inhale that irresistible creamsicle scent—this is where the truffles get their signature flavor.
Step 3: Incorporate the Vanilla Wafers
Have your crushed vanilla wafers ready to go. Add them right into the bowl and mix until your dough comes together. It should be thick, slightly sticky, and easy to handle—perfect for rolling into bite-sized pieces in the next step.
Step 4: Shape the Truffles
Scoop out about a tablespoon of dough for each truffle, then gently roll between your palms to form smooth balls. Arrange them on a parchment-lined baking sheet, leaving space between each one—no need to be too precise, just have fun with it!
Step 5: Chill the Truffle Balls
Pop the tray in the refrigerator for about 30 minutes. This quick chill session firms up the truffles, making them much easier to dip in chocolate without falling apart.
Step 6: Melt the White Chocolate
In a microwave-safe bowl, heat your white chocolate chips or candy melts in short 20-second bursts, stirring after each, until fully melted and silky smooth. Patience here ensures no risk of scorching the chocolate.
Step 7: Coat the Truffles
Using a fork or dipping tool, carefully dip each chilled truffle into the melted white chocolate. Let any excess drip off before returning the truffle to the parchment. Don’t worry if they’re not perfectly smooth—they’ll look charmingly homemade!
Step 8: Decorate Your Truffles
While the coating is still wet, immediately sprinkle each No Bake Orange Creamsicle Truffle with sprinkles or a little fresh orange zest. The colors and aroma will make them even more irresistible.
Step 9: Chill and Serve
Return the finished truffles to the refrigerator for another 15-20 minutes, allowing the chocolate shell to set completely. Then, serve your No Bake Orange Creamsicle Truffles chilled from the fridge or at room temperature for ultimate creamy softness.
How to Serve No Bake Orange Creamsicle Truffles
Garnishes
A bright scatter of rainbow sprinkles or a flourish of extra orange zest on top can really make your No Bake Orange Creamsicle Truffles pop on the plate. The zest not only looks beautiful but also enhances the citrus notes in every bite.
Side Dishes
These truffles shine on their own but also pair delightfully with a fruit platter featuring strawberries, pineapple, or berries. If you’re serving them at a party, try placing them alongside chocolate-covered pretzels or mini lemon bars for a playful dessert buffet.
Creative Ways to Present
Go beyond the usual plate by tucking truffles into mini cupcake wrappers or tying up a few in treat bags as party favors. For a special brunch, arrange them in a vintage candy dish, or stack them into a “truffle tower” centerpiece for a wow-factor dessert display!
Make Ahead and Storage
Storing Leftovers
Keep any leftover No Bake Orange Creamsicle Truffles in an airtight container in the refrigerator. They’ll stay fresh and flavorful for up to a week—if they last that long!
Freezing
For longer storage, freeze the truffles in a single layer on a tray until solid, then transfer to a zip-top bag or airtight container. They’ll keep their texture and taste for about two months, just thaw in the fridge before serving.
Reheating
These no bake treats don’t need reheating, but if you want to take the chill off after freezing, let them sit at room temperature for 10-15 minutes before serving. This will give you that soft, creamy truffle bite everyone loves.
FAQs
Can I use regular orange juice instead of concentrate?
You really want to stick with orange juice concentrate for this recipe. It gives a bolder, more intense flavor without making the truffle dough too watery, so you get the classic creamsicle punch in every bite.
What’s the best way to crush vanilla wafers?
A food processor is the fastest and easiest way—you’ll get fine, even crumbs in seconds. If you don’t have one handy, a zip-top bag and a rolling pin will do the trick with a little extra elbow grease.
Can I make No Bake Orange Creamsicle Truffles ahead for a party?
Absolutely! These truffles actually benefit from chilling, so feel free to make them a day or two in advance. Just keep them in a covered container in the fridge until you’re ready to serve.
What if I don’t have white chocolate chips?
Candy melts or almond bark will work just as well for coating. You can even try milk or dark chocolate for a fun twist—the orange filling tastes amazing with any chocolate shell!
Can I skip the orange zest?
The orange zest is optional, but it really bumps up the citrusy personality of your truffles. If you love orange flavor, don’t skip it. However, the recipe will still work without it if you’re in a pinch.
Final Thoughts
Bring a little sunshine into your kitchen with No Bake Orange Creamsicle Truffles—you won’t believe how quick and easy it is to create such a nostalgic, crowd-pleasing treat. Just a handful of ingredients, a few simple steps, and you’ll have a plateful of dreamy bites bursting with creamy orange flavor. Go ahead and give them a try—the memories (and compliments) are absolutely worth it!
PrintNo Bake Orange Creamsicle Truffles Recipe
Indulge in the creamy, citrusy goodness of these no-bake orange creamsicle truffles. With a zesty orange flavor and a smooth white chocolate coating, these truffles are the perfect treat for any occasion.
- Prep Time: 20 minutes
- Cook Time: 0 minutes
- Total Time: 1 hour
- Yield: About 24 truffles 1x
- Category: Dessert
- Method: No-Bake
- Cuisine: American
- Diet: Vegetarian
Ingredients
Truffle Mixture:
- 1 1/2 cups (180 g) powdered sugar
- 1/2 cup (115 g) unsalted butter, softened
- 2 cups (120 g) finely crushed vanilla wafers
- 1/4 cup (60 ml) frozen orange juice concentrate, thawed
- 1 teaspoon orange zest (optional)
- 1/2 teaspoon vanilla extract
Coating and Decoration:
- 1 cup (200 g) white chocolate chips or candy melts
- Sprinkles
- Extra orange zest
Instructions
- Prepare the Truffle Mixture: In a large mixing bowl, beat the softened butter and powdered sugar until smooth and creamy.
- Stir in the orange juice concentrate, orange zest (if using), and vanilla extract.
- Add the crushed vanilla wafers and mix until a dough forms.
- Shape the Truffles: Scoop out small portions of the dough (about 1 tablespoon each) and roll them into smooth balls.
- Place the truffle balls on a parchment-lined baking sheet and refrigerate for 30 minutes to firm up.
- Melt the White Chocolate: In a microwave-safe bowl, melt the white chocolate chips or candy melts in 20-second intervals, stirring after each interval, until smooth and fully melted.
- Coat the Truffles: Using a fork or dipping tool, dip each chilled truffle into the melted white chocolate, allowing the excess to drip off.
- Place the coated truffles back onto the parchment-lined baking sheet.
- Decorate (Optional): Immediately sprinkle the truffles with sprinkles or orange zest before the coating hardens.
- Chill and Serve: Refrigerate the truffles for 15-20 minutes to set the coating completely. Serve chilled or at room temperature.
Notes
- For a stronger orange flavor, increase the amount of orange zest.
- Store the truffles in an airtight container in the refrigerator for up to one week.
Nutrition
- Serving Size: 1 truffle
- Calories: 120
- Sugar: 10g
- Sodium: 50mg
- Fat: 7g
- Saturated Fat: 4g
- Unsaturated Fat: 2g
- Trans Fat: 0g
- Carbohydrates: 13g
- Fiber: 0.5g
- Protein: 1g
- Cholesterol: 10mg
Keywords: orange creamsicle truffles, no bake truffles, citrus dessert, white chocolate truffles