
Rosemary & Roasted Garlic Artisan Bread Recipe
Introduction
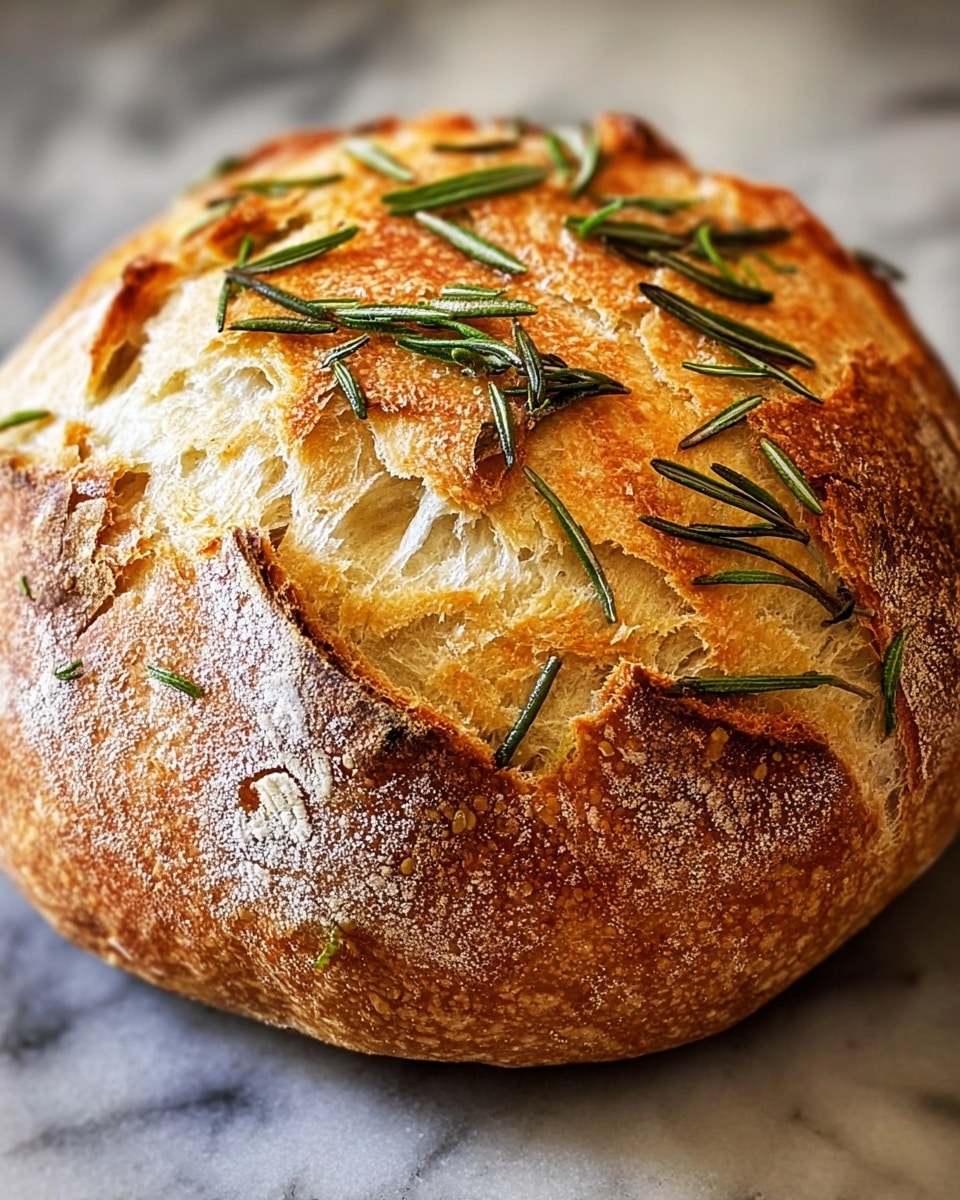
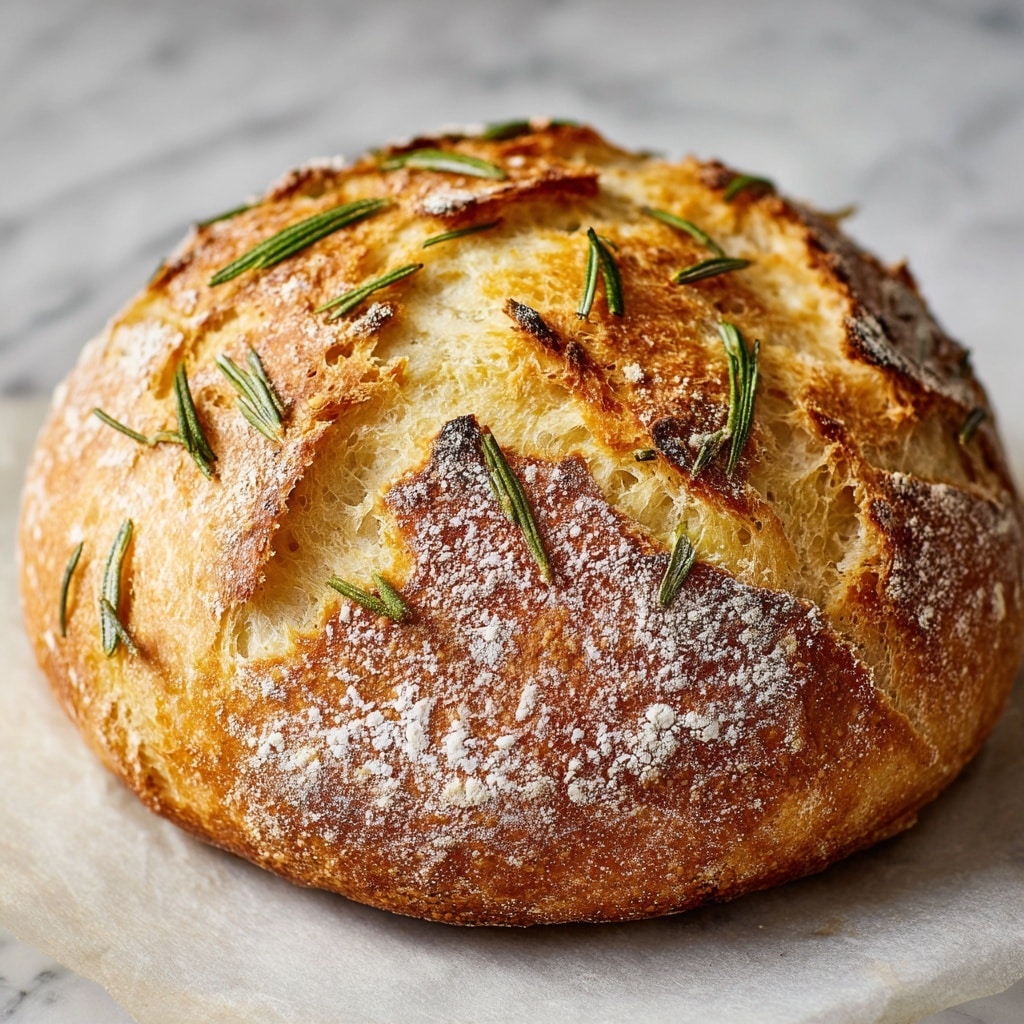
This Rosemary & Roasted Garlic Artisan Bread is a fragrant and flavorful loaf perfect for any occasion. With roasted garlic adding a rich depth and fresh rosemary bringing a piney aroma, this bread is both rustic and delicious.
Ingredients
- 1 head garlic
- Extra-virgin olive oil
- Coarse sea salt
- Freshly ground black pepper
- 1½ cups water (room temperature)
- 1 teaspoon active dry yeast
- 3 cups bread or all-purpose flour
- ½ teaspoon dried oregano
- 1 teaspoon kosher salt
- 2 teaspoons finely chopped rosemary (plus extra for topping)
Instructions
- Step 1: Preheat your oven to 400°F (204°C). Slice the garlic head in half, drizzle with olive oil, and season with coarse sea salt and freshly ground black pepper. Wrap in foil and roast for about 40 minutes until soft and fragrant.
- Step 2: In a bowl, combine the yeast with room temperature water and let it sit until frothy, about 10-15 minutes.
- Step 3: In a separate bowl, mix the flour, dried oregano, kosher salt, and finely chopped rosemary.
- Step 4: Add the yeast mixture, smashed roasted garlic, and a splash of olive oil to the dry ingredients. Use a spatula to combine until just mixed; do not overwork the dough.
- Step 5: Cover the bowl and let the dough rise in a warm place until it doubles in size, about 8-10 hours.
- Step 6: Turn the dough onto a floured surface, shape it into a ball, and place it seam side up in a floured bowl. Cover and refrigerate overnight or up to 48 hours for better flavor development.
- Step 7: Preheat your oven to 450°F (232°C) with a Dutch oven inside to get it very hot.
- Step 8: Remove the chilled dough from the refrigerator and shape it onto parchment paper, placing it seam side down. Score the top with a sharp knife.
- Step 9: Transfer the dough on the parchment paper into the hot Dutch oven. Cover and bake for 30 minutes, then uncover and bake an additional 15-20 minutes until the crust is golden brown and crisp.
- Step 10: Let the bread cool completely on a wire rack before slicing to preserve the crumb and texture.
Tips & Variations
- For a more intense garlic flavor, add extra roasted garlic cloves to the dough before mixing.
- Use fresh rosemary if possible for a brighter, more aromatic bread.
- If you don’t have a Dutch oven, bake the bread on a preheated baking stone and place a tray of water in the oven to create steam.
Storage
Store the bread wrapped in a clean kitchen towel at room temperature for up to 2 days to maintain crust crispness. For longer storage, slice and freeze the bread in a freezer bag for up to 3 months. Reheat slices in a toaster or oven to restore freshness.
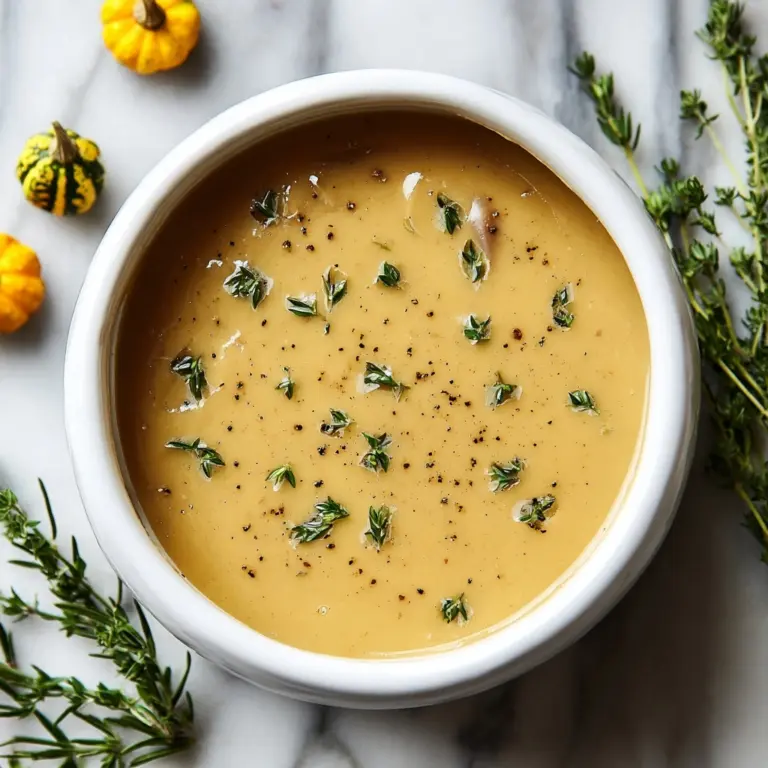
How to Serve
Serve this delicious recipe with your favorite sides.
FAQs
Can I use active dry yeast instead of instant yeast?
Yes, active dry yeast works well for this recipe. Just be sure to dissolve it in the warm water and allow it to become frothy before mixing, as outlined in the instructions.
What if I don’t have a Dutch oven?
You can bake this bread on a preheated baking stone or heavy baking sheet. Place a shallow pan of water on the oven floor to create steam, which helps develop a crisp crust.
PrintRosemary & Roasted Garlic Artisan Bread Recipe
This Rosemary & Roasted Garlic Artisan Bread is a rustic homemade loaf that combines fragrant roasted garlic and fresh rosemary for a flavorful, crusty bread perfect for any occasion. The dough undergoes a slow rise and an overnight chill for enhanced texture and taste, then is baked in a Dutch oven to achieve a beautifully crisp crust and soft interior.
- Prep Time: 20 minutes (plus 8-10 hours rising time and overnight chilling)
- Cook Time: 50 minutes
- Total Time: Approximately 10-12 hours (including rising and chilling times)
- Yield: 1 artisan loaf, about 10–12 servings 1x
- Category: Bread
- Method: Baking
- Cuisine: American
Ingredients
Roasted Garlic
- 1 head garlic
- Extra-virgin olive oil
- Coarse sea salt
- Freshly ground black pepper
Dough
- 1½ cups water (room temperature)
- 1 teaspoon active dry yeast
- 3 cups bread or all-purpose flour
- ½ teaspoon dried oregano
- 1 teaspoon kosher salt
- 2 teaspoons finely chopped rosemary (plus extra for topping)
- Extra-virgin olive oil for mixing (approximately 1-2 tablespoons)
Instructions
- Roast the garlic: Preheat your oven to 400°F (204°C). Slice the head of garlic in half horizontally, drizzle with olive oil, and season with coarse sea salt and freshly ground black pepper. Wrap it tightly in foil and roast in the oven for about 40 minutes until soft and caramelized.
- Activate the yeast: In a small bowl, combine the active dry yeast with room temperature water. Let it sit for 10-15 minutes until the mixture becomes frothy, indicating the yeast is active and ready to use.
- Prepare the dry ingredients: In a large mixing bowl, whisk together the flour, dried oregano, kosher salt, and finely chopped rosemary to evenly distribute the herbs and seasoning.
- Mix the dough: Add the yeast mixture, the roasted garlic cloves smashed into a paste, and a splash of olive oil into the dry ingredients. Use a spatula to combine until just mixed, forming a rough dough.
- First rise: Cover the bowl with a clean towel or plastic wrap, and let the dough rise in a warm place until doubled in size, approximately 8 to 10 hours. This slow rise helps develop flavor and texture.
- Shape and refrigerate: Turn the dough out onto a floured surface and shape it into a ball. Place it seam side up in a floured bowl, cover, and refrigerate overnight or up to 48 hours. This cold fermentation further enhances the bread’s taste.
- Preheat oven with Dutch oven: About 30 minutes before baking, preheat your oven to 450°F (232°C) with a Dutch oven placed inside to heat thoroughly.
- Shape and score the dough: Remove the chilled dough from the refrigerator and shape it onto a piece of parchment paper seam side down. Score the top of the dough with a sharp knife or lame to allow controlled expansion during baking. Sprinkle extra rosemary on top for garnish.
- Bake the bread: Carefully transfer the parchment paper with dough into the preheated Dutch oven. Cover with the lid and bake for 30 minutes. Then remove the lid and bake uncovered for an additional 15-20 minutes until the crust turns golden brown and crisp.
- Cool and serve: Remove the bread from the oven and cool it on a wire rack before slicing to allow the crumb to set properly. Enjoy fresh or store for later.
Notes
- Using a Dutch oven helps create steam, which is essential for developing a crunchy crust.
- Roasting the garlic softens its flavor and adds a subtle sweetness to the bread.
- For best results, use bread flour for improved gluten development, but all-purpose flour will also work.
- The long rise time improves both flavor and texture by allowing fermentation to develop slowly.
- Store leftover bread in a paper bag at room temperature for up to 3 days or freeze for longer storage.
Keywords: rosemary bread, roasted garlic bread, artisan bread, homemade bread, crusty bread, Dutch oven bread, slow rise bread


