
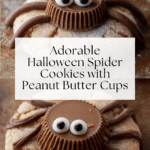
Spider Halloween Cookies Recipe
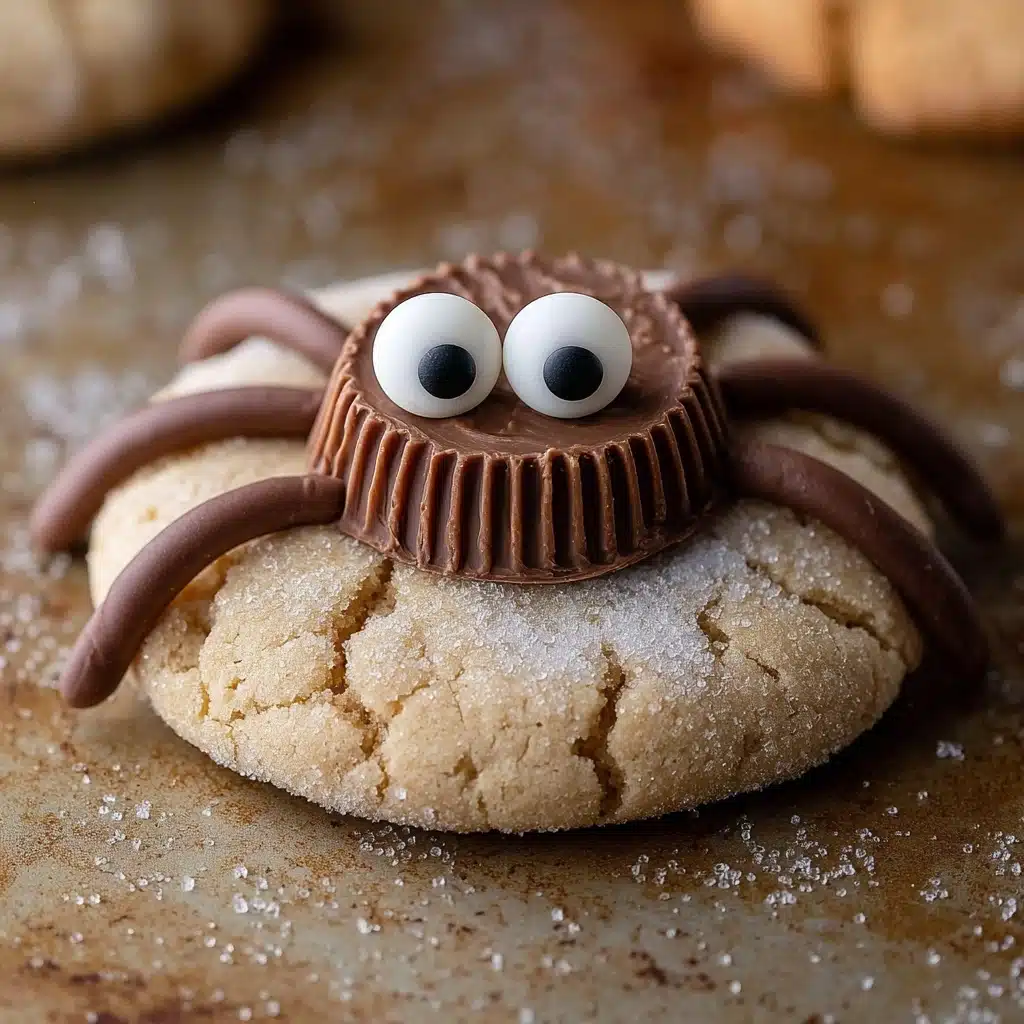
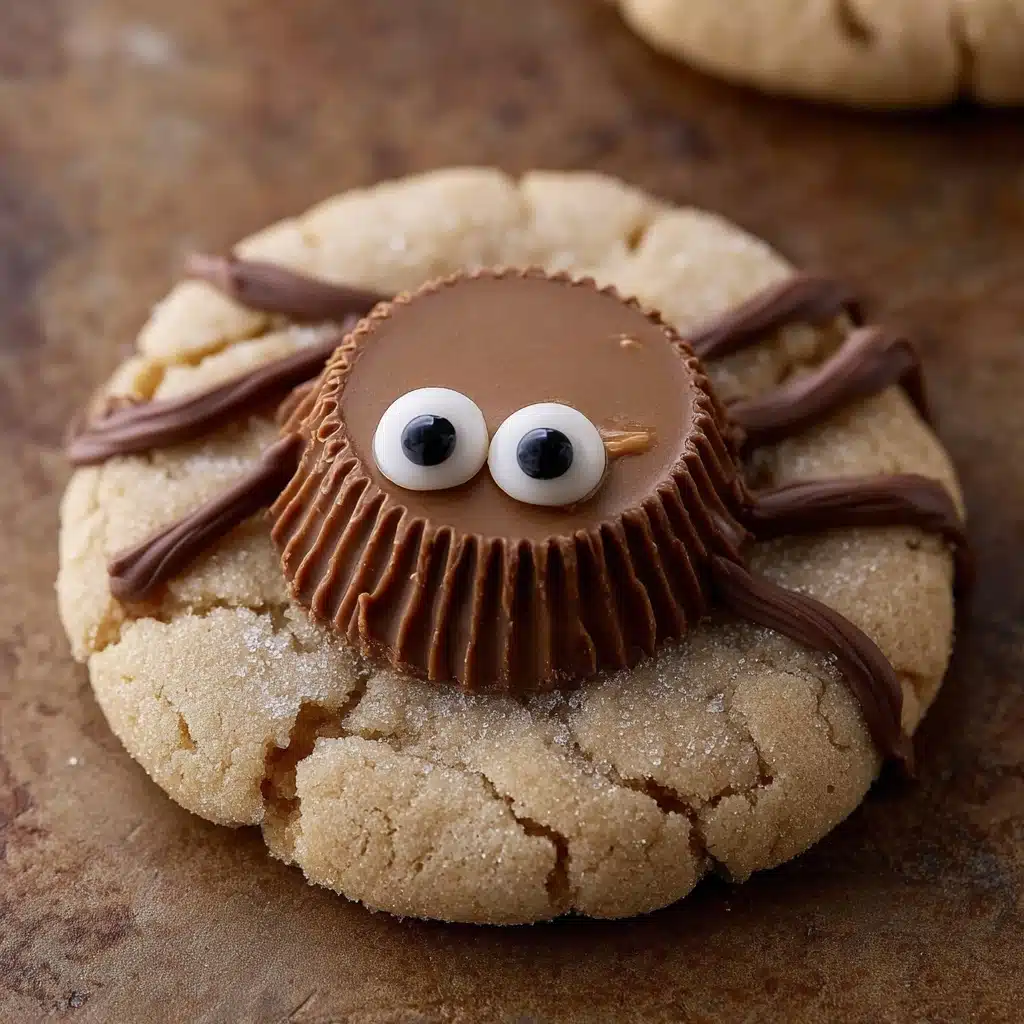
If you are looking for a festive treat that brings together classic flavors with a fun and spooky twist, these Spider Halloween Cookies are an absolute must-make. Not only do they deliver the comforting warmth of cinnamon-spiced sugar cookies, but these adorable spider-themed delights also showcase peanut butter cups and a clever chocolate detail that will impress kids and adults alike. Perfect for Halloween parties or an easy seasonal bake, these Spider Halloween Cookies strike the perfect balance of gooey, crunchy, and cheeky, turning ordinary cookies into an eye-catching centerpiece of your spooky celebrations.
Ingredients You’ll Need
These ingredients are simple pantry staples, each chosen to create the perfect balance of flavor, texture, and that irresistible cinnamon sugar glow that makes these cookies so addictive. Getting your ingredients ready will have you one step closer to Halloween baking bliss.
- 1 & ½ cup all-purpose flour: The base for a soft yet sturdy cookie dough that holds its shape.
- 1 teaspoon cream of tartar: Adds the perfect lightness and slight tang to balance the sweetness.
- ½ teaspoon baking soda: Helps the cookies rise just enough, keeping them tender.
- ¾ teaspoon cinnamon: Brings warm, spicy depth that screams fall.
- ½ teaspoon salt: Enhances all the sweet flavors so nothing falls flat.
- ½ cup butter: The richness that makes these cookies melt-in-your-mouth delicious.
- ⅔ cup sugar: Adds sweetness and helps create the perfect crispy edges.
- 1 egg: Binds everything together with moisture and structure.
- 1 teaspoon vanilla: Adds a touch of warmth and rounds out the flavor profile.
- 2 tablespoon sugar (for topping): To mix with cinnamon and give the cookies a pretty, sparkly coating.
- ½ teaspoon cinnamon (for topping): Heightens the signature spiced flavor on every bite.
- 14 peanut butter cups: These become the spooky spider bodies on top of each cookie.
- 3 tablespoon milk chocolate chips or chunks: Melted and piped to create spider legs, adding a creative finishing touch.
- Eyeball sprinkles or small candies: The creepy-cute eyes that bring your spider cookies to life.
How to Make Spider Halloween Cookies
Step 1: Prepare Your Oven and Baking Sheet
Start by preheating your oven to 350 degrees F. Then, line a baking sheet with parchment paper. This simple step ensures even baking and makes cleanup a breeze. Having your baking station ready is key to staying organized throughout the process.
Step 2: Cream Butter and Sugar
Using a stand mixer fitted with the paddle attachment or a hand mixer, cream together the butter and sugar. This creates a fluffy, well-aerated base that will translate into soft, tender cookies. Make sure the butter is softened so it blends easily.
Step 3: Add Egg and Vanilla
Mix in the egg and vanilla until everything is fully combined. Don’t forget to scrape the sides of the bowl to incorporate every bit of the creamy mixture, ensuring uniform flavor and texture in your dough.
Step 4: Combine Dry Ingredients and Add to Wet Mixture
Whisk together the flour, baking soda, cream of tartar, salt, and cinnamon separately before folding them into the wet ingredients. Mixing the dry ingredients first helps distribute the rising agents and spices evenly, preventing clumps and ensuring a balanced flavor.
Step 5: Shape and Coat Your Cookies
Using a small cookie scoop, portion out 14 even balls of dough. Roll each ball between your palms, then generously coat them in the cinnamon-sugar mixture. This extra layer adds a delightful crunch and an inviting aroma that’s impossible to resist.
Step 6: Bake and Cool
Place the cookies on your prepared baking sheet, spacing them about 3 inches apart to allow spreading. Bake for 10 minutes. They’ll look soft and puffy when you take them out; don’t worry—they firm up as they cool. Let them rest on the pan for 5 minutes before moving on.
Step 7: Add Peanut Butter Cups and Eyes
Top each warm cookie with an upside-down peanut butter cup. Wait a minute or two for them to soften slightly, then add the eyeball sprinkles or small candy eyes onto each peanut butter cup, transforming them into spooky spider bodies.
Step 8: Create Spider Legs with Melted Chocolate
Melt the milk chocolate chips or chunks gently, then transfer to a small piping bag or plastic sandwich bag. Snip a tiny corner and pipe eight thin spider legs extending from each peanut butter cup. Let the chocolate set completely before digging in—this final step really brings the spider effect to life.
How to Serve Spider Halloween Cookies
Garnishes
For an extra festive touch, dust the plate with a little edible glitter or more cinnamon sugar. You might also add tiny bats or ghost sprinkles on the side for a complete Halloween vibe. Garnishes elevate the look and can add subtle flavor contrasts that guests will love.
Side Dishes
These Spider Halloween Cookies pair beautifully with a chilly glass of milk or a warm mug of spiced cider or hot chocolate. The creamy drinks balance the cinnamon and peanut butter flavors while keeping the spooky mood cozy and sweet.
Creative Ways to Present
Try arranging the cookies on a black platter with fake cobweb decorations for maximum creepy-cute effect. You could also place them on skewers among other Halloween treats for a party dessert display that is interactive and fun. Presentation really amps up the excitement these cookies generate!
Make Ahead and Storage
Storing Leftovers
Store any leftover Spider Halloween Cookies in an airtight container at room temperature for up to 4 days. Keep the layers flat and separated by parchment paper to prevent sticking, ensuring they maintain their texture.
Freezing
You can freeze the plain baked cookies before adding peanut butter cups and chocolate details. Wrap them tightly in plastic wrap and place in a freezer-safe container for up to 1 month. When ready to enjoy, thaw completely and then decorate as directed for the freshest taste and appearance.
Reheating
If you want to warm these cookies slightly, microwave for 10-15 seconds or place them in a low oven (around 300 degrees F) for 5 minutes. This makes the peanut butter cups gooey and the chocolate legs soften just a bit—perfect for indulging.
FAQs
Can I use a different kind of candy instead of peanut butter cups?
Absolutely! You can swap peanut butter cups for chocolate truffles, mini chocolate bars, or even simply melted chocolate dollops if you want to customize the spider bodies to your liking.
Are these cookies suitable for kids with peanut allergies?
Since peanut butter cups are a key ingredient, these are not safe for children with peanut allergies. However, you can substitute the peanut butter cups with allergy-friendly chocolates to make a similar spider effect.
Can I make these cookies vegan?
To make these cookies vegan, you would need to use plant-based butter, an egg substitute like flax or chia seed eggs, and vegan chocolate. Keep in mind that texture and flavor will vary slightly but can still be delicious!
What if I don’t have cream of tartar?
If you don’t have cream of tartar, you can omit it, but the cookies may be slightly less tender and a bit less chewy. It’s a subtle ingredient that helps with texture but is not absolutely essential.
How long do Spider Halloween Cookies stay fresh?
Stored properly in an airtight container at room temperature, these cookies stay fresh for about 4 days. Beyond that, they can begin to lose their texture and flavor, so enjoy them fresh when possible!
Final Thoughts
These Spider Halloween Cookies are such a joyful and creative way to bring Halloween cheer straight from your oven to your table. Their warm cinnamon flavor, paired with peanut butter sweetness and playful spider decorations, make them an instant hit. Whether you’re baking with family or hosting a spooky soirée, these cookies are guaranteed to be a memorable treat. Dive in and have fun bringing a little creepy-cute magic to your Halloween!
PrintSpider Halloween Cookies Recipe

These Spider Halloween Cookies are a fun and festive treat perfect for Halloween celebrations. Soft cinnamon-infused cookies topped with peanut butter cups, decorated with spooky eyeball candies and chocolate spider legs create an adorable and delicious dessert that’s sure to impress kids and adults alike.
- Prep Time: 15 minutes
- Cook Time: 10 minutes
- Total Time: 30 minutes
- Yield: 14 cookies 1x
- Category: Dessert, Snack
- Method: Baking
- Cuisine: American
- Diet: Vegetarian
Ingredients
For the Cookies:
- 1 & ½ cup all purpose flour
- 1 teaspoon cream of tartar
- ½ teaspoon baking soda
- ¾ teaspoon cinnamon
- ½ teaspoon salt
- ½ cup butter, softened
- ⅔ cup sugar
- 1 egg
- 1 teaspoon vanilla extract
For the Cinnamon Sugar:
- 2 tablespoon sugar
- ½ teaspoon cinnamon
For the Spider Topping:
- 14 peanut butter cups
- 3 tablespoon milk chocolate chips or chunks
- Eyeball sprinkles or small candies
Instructions
- Preheat Oven: Preheat your oven to 350 degrees F (175 degrees C). Line a baking sheet with parchment paper to prevent sticking and ease cleanup.
- Cream Butter and Sugar: Using a stand mixer with a paddle attachment or a hand mixer, cream together the softened butter and sugar until light and fluffy, about 2-3 minutes.
- Add Wet Ingredients: Add in the egg and vanilla extract to the butter-sugar mixture. Beat until fully combined, scraping down the sides of the bowl as needed to ensure even mixing.
- Combine Dry Ingredients: In a separate bowl, whisk together the all-purpose flour, cream of tartar, baking soda, salt, and cinnamon until evenly distributed.
- Mix Dry and Wet Ingredients: Gradually add the dry ingredients to the wet mixture, mixing just until incorporated. Avoid overmixing to keep the cookies tender.
- Form and Coat Cookies: Using a small cookie scoop, portion out 14 dough balls. Roll each in your palms to smooth, then coat each ball thoroughly in the cinnamon-sugar mixture made by combining sugar and cinnamon.
- Arrange on Baking Sheet: Place the coated dough balls on the prepared baking sheet, spacing them about 3 inches apart to allow for spreading.
- Bake Cookies: Bake for 10 minutes or until the cookies are just set and still soft in the center. The cookies will appear puffy and soft, which is perfect as they firm up while cooling.
- Cool and Add Peanut Butter Cups: Let the cookies cool on the baking sheet for 5 minutes, then gently press an upside-down peanut butter cup onto each cookie while they’re still slightly warm to help them adhere.
- Melt Chocolate: Melt the milk chocolate chips in a microwave-safe bowl, heating in 15-20 second intervals and stirring until smooth.
- Decorate with Chocolate and Eyes: Transfer melted chocolate into a small plastic bag and snip a tiny corner. Pipe thin lines from the peanut butter cup outward to resemble spider legs. Quickly add eyeball sprinkles or small candy eyes onto the peanut butter cups before the chocolate sets.
- Set and Serve: Allow the chocolate legs to harden completely before serving your spooky spider cookies. Enjoy these delightful Halloween treats!
Notes
- Ensure butter is softened to room temperature for easier creaming with sugar.
- Use parchment paper or a silicone mat to avoid cookie sticking and promote even baking.
- For a nut-free version, substitute peanut butter cups with chocolate discs and decorate accordingly.
- Store cookies in an airtight container at room temperature for up to 3 days for best freshness.
- Use good quality milk chocolate for smoother melting and better decoration results.
Nutrition
- Serving Size: 1 cookie
- Calories: 210
- Sugar: 15g
- Sodium: 110mg
- Fat: 12g
- Saturated Fat: 6g
- Unsaturated Fat: 5g
- Trans Fat: 0g
- Carbohydrates: 23g
- Fiber: 1g
- Protein: 3g
- Cholesterol: 35mg
Keywords: Halloween cookies, spider cookies, peanut butter cup cookies, cinnamon sugar cookies, Halloween treats, festive cookies, spooky desserts


