
Twix Thumbprint Cookies Recipe
Introduction
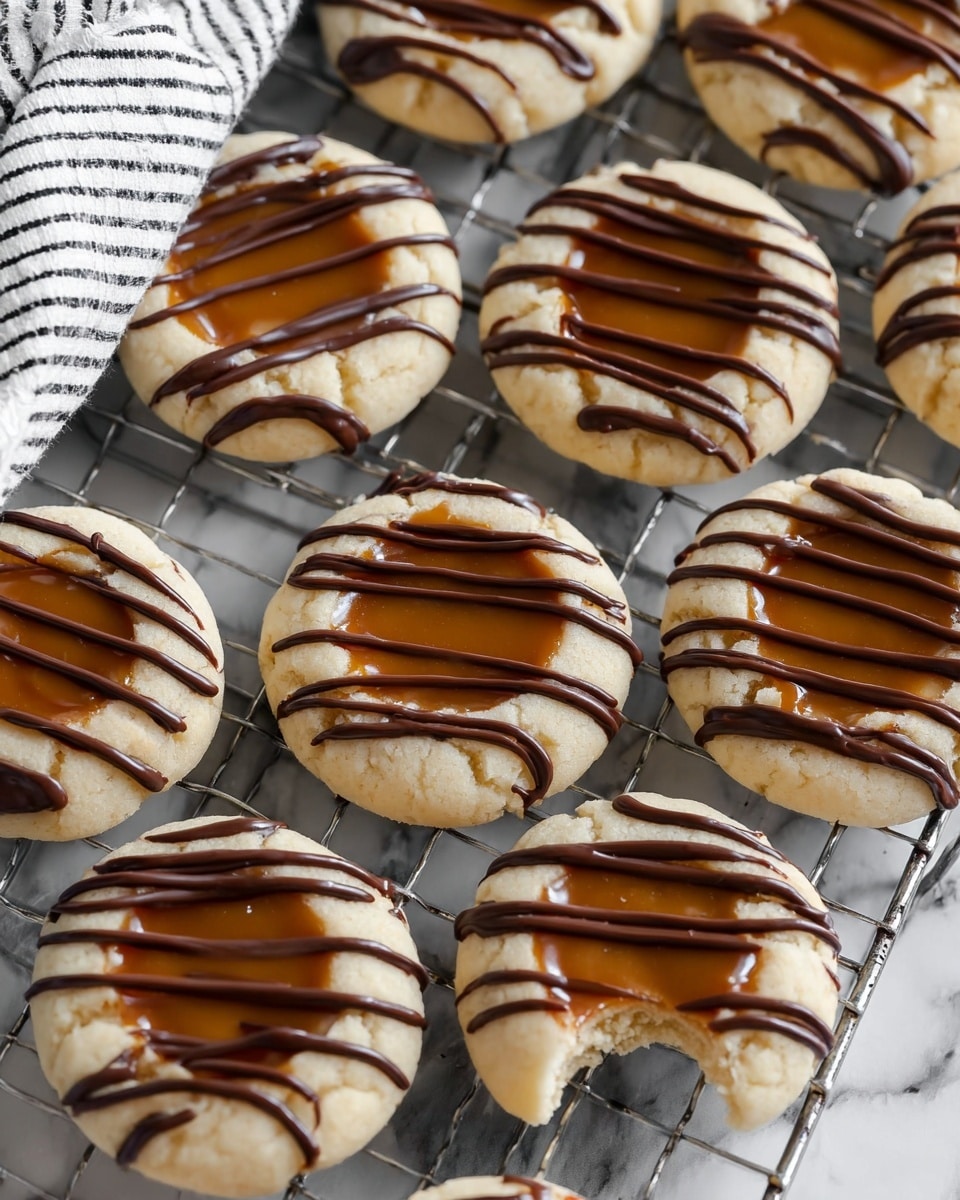
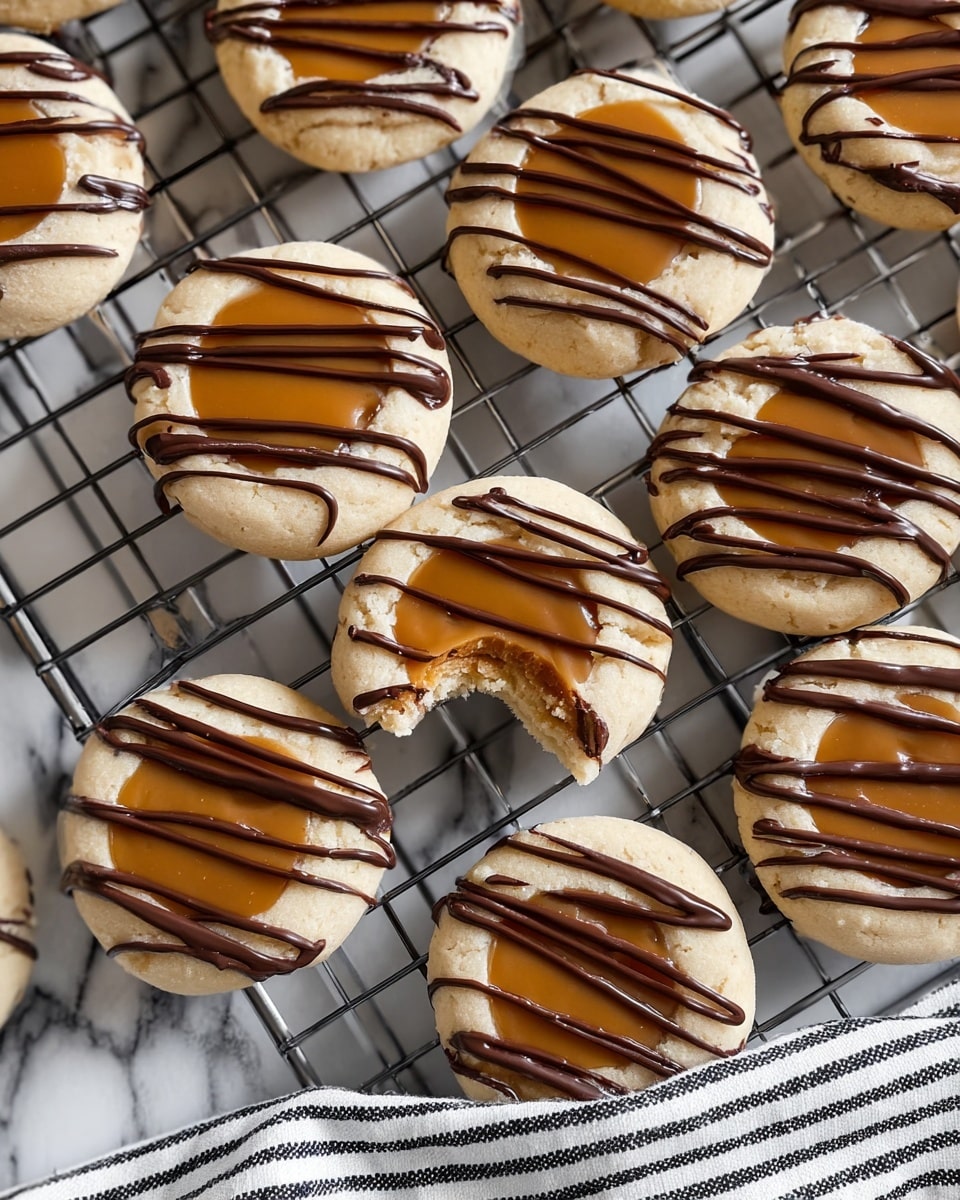
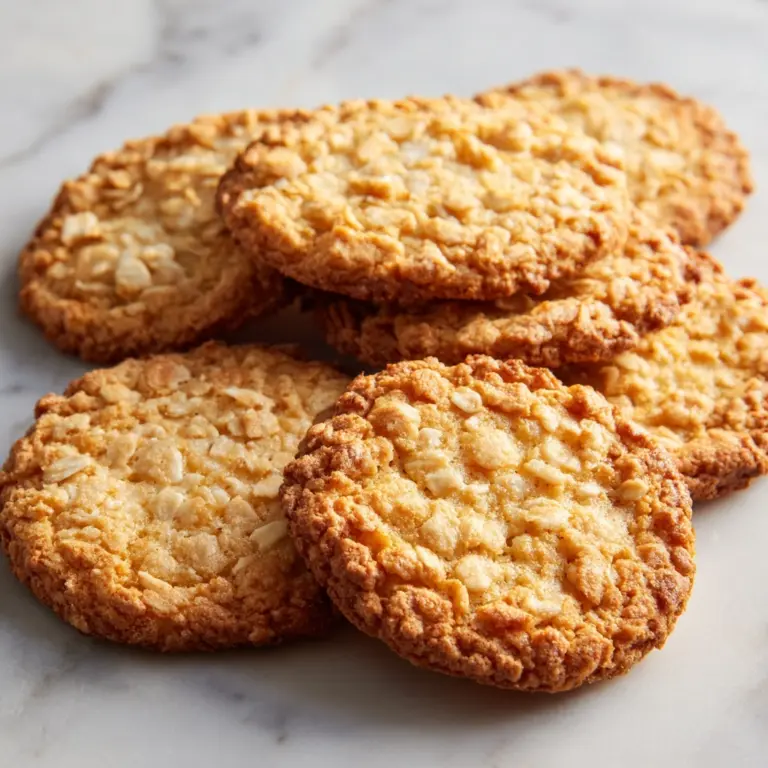
These Twix Thumbprint Cookies are a delightful twist on a classic treat, featuring soft buttery cookies filled with rich caramel and topped with smooth milk chocolate. Perfectly sweet and chewy, they make a great homemade indulgence for any occasion.
Ingredients
- 1 cup (222g) salted butter, softened
- 1 1/4 cup (137g) powdered sugar
- 1 egg
- 3 tsp vanilla extract
- 2 1/2 cups (295g) cake flour
- 1 tsp baking powder
- 1/2 tsp salt
- 30 soft caramels
- 1 tbsp milk
- 1/2 cup milk chocolate melting wafers (or melted chocolate chips)
Instructions
- Step 1: Preheat the oven to 350° F (180°C). Line a cookie sheet with parchment paper or a silicone baking mat and set aside.
- Step 2: In a stand mixer bowl, combine the softened butter, powdered sugar, and egg until well mixed.
- Step 3: Add the vanilla extract and mix thoroughly.
- Step 4: Add the cake flour, baking powder, and salt, mixing until a very soft dough forms.
- Step 5: Let the dough rest for about 5 minutes to make it easier to handle.
- Step 6: Portion the dough into 1 tablespoon portions, roll each into a ball, and arrange on the prepared cookie sheet.
- Step 7: Using a 1/2 teaspoon measuring spoon, press down in the center of each dough ball to create a crater. Dip the spoon in flour between cookies to prevent sticking.
- Step 8: Bake for 8-10 minutes. The cookies should spread but retain a faint crater in the middle.
- Step 9: Right after removing from the oven, press the center of each cookie again with a 1 tablespoon measuring spoon to deepen the thumbprint. This step must be done immediately to prevent cookies from falling apart.
- Step 10: Allow the cookies to cool completely on the baking sheet.
- Step 11: Melt the caramels and milk together in the microwave in 30-second intervals, stirring until smooth.
- Step 12: Spoon the melted caramel into the center of each cooled cookie. Chill in the fridge to set the caramel faster.
- Step 13: Drizzle the melted milk chocolate over the caramel-topped cookies once the caramel has set.
- Step 14: Let the chocolate set completely before serving.
- Step 15: Store at room temperature or in the fridge for up to 4 days.
Tips & Variations
- If you don’t have cake flour, use all-purpose flour but remove 2 tablespoons per cup and replace with cornstarch for a softer texture.
- To make pressing the thumbprints easier, flour your measuring spoons lightly to prevent sticking.
- Try using dark chocolate instead of milk chocolate for a richer flavor contrast.
- For extra texture, sprinkle chopped nuts over the caramel before it sets.
Storage
Store these cookies in an airtight container at room temperature or in the refrigerator for up to 4 days. If refrigerated, allow them to come to room temperature before serving for the best texture. Reheat briefly at low power in a microwave to soften the caramel and chocolate if desired.
How to Serve
Serve this delicious recipe with your favorite sides.
FAQs
Can I use regular flour instead of cake flour?
Yes, you can substitute all-purpose flour by replacing 2 tablespoons per cup with cornstarch to mimic the lighter texture of cake flour. This helps keep the cookies tender.
Why do I need to press the thumbprint after baking?
Pressing the cookies immediately after baking deepens the crater without breaking apart the cookie. Trying to make the thumbprint after the cookies have fully cooled usually causes them to crumble.
PrintTwix Thumbprint Cookies Recipe
These Twix Thumbprint Cookies combine soft, buttery cake flour cookies with gooey caramel centers and a drizzle of rich milk chocolate, creating a delightful homemade treat inspired by the classic Twix candy bar.
- Prep Time: 15 minutes
- Cook Time: 10 minutes
- Total Time: 25 minutes
- Yield: 30 cookies 1x
- Category: Dessert
- Method: Baking
- Cuisine: American
Ingredients
Cookie Dough
- 1 cup (222g) salted butter, softened
- 1 1/4 cup (137g) powdered sugar
- 1 egg
- 3 tsp vanilla extract
- 2 1/2 cups (295g) cake flour
- 1 tsp baking powder
- 1/2 tsp salt
Fillings and Toppings
- 30 soft caramels
- 1 tbsp milk
- 1/2 cup milk chocolate melting wafers (or melted chocolate chips)
Instructions
- Prepare baking sheet: Preheat the oven to 350° F (180°C). Line a cookie sheet with parchment paper or a silicone baking mat and set aside.
- Mix wet ingredients: In the bowl of a stand mixer, combine the softened butter, powdered sugar, and egg until well combined.
- Add vanilla: Blend in the vanilla extract, mixing thoroughly.
- Incorporate dry ingredients: Add the cake flour, baking powder, and salt to the wet mixture, mixing until a very soft dough forms.
- Rest the dough: Let the dough rest for about 5 minutes to make it easier to handle.
- Form cookies: Portion the dough into 1 tablespoon portions and roll each into a ball. Arrange them spaced on the prepared baking sheet.
- Create thumbprints: Using a 1/2 teaspoon measuring spoon dipped in flour, press down gently into the center of each dough ball to make a crater.
- Bake: Bake the cookies at 350° F (180°C) for 8-10 minutes. The cookies will spread but should still have a faint crater in the center.
- Deepen thumbprints: Immediately after removing from the oven, press down again in the center of each cookie with a 1 tablespoon measuring spoon to deepen the thumbprint without breaking the cookie.
- Cool cookies: Allow the cookies to cool completely on the baking sheet.
- Melt caramel: In a microwave-safe bowl, melt the soft caramels with 1 tablespoon of milk. Microwave in 30-second intervals, stirring until smooth.
- Fill centers: Spoon the melted caramel into the thumbprints of each cooled cookie. Place the cookies in the fridge to let the caramel set if desired.
- Melt chocolate: Melt the milk chocolate wafers or melted chocolate chips until smooth.
- Drizzle chocolate: Drizzle the melted milk chocolate over the tops of the caramel-filled cookies.
- Set toppings and store: Allow the chocolate to set completely. Store the cookies at room temperature or in the fridge for up to 4 days. Enjoy!
Notes
- Pressing the thumbprint into the cookie immediately after baking is essential; waiting until after cooling will cause the cookies to crack.
- Use cake flour for a softer, more tender cookie texture.
- Soft caramels melt more smoothly, making filling easier.
- You can speed up the caramel setting by refrigerating the cookies after filling.
- Milk chocolate melting wafers can be substituted with chocolate chips if necessary.
Keywords: Twix cookies, thumbprint cookies, caramel filled cookies, homemade cookies, chocolate drizzle, dessert, easy cookie recipe

